Why Reading Trail Signs Matters On Every Spanish Path
You want the mountains to welcome you and bring you back safely. In Spain, learning to read trail markers Spain is a simple skill that pays off in orientation, safety, and respect for the land and its people. A flash of paint on a rock can mean “keep straight” or “wrong way,” and that tiny clue often spares you an hour of backtracking.
Spain’s landscapes vary wildly, and so do the contexts in which we hike them. From the Pyrenees and Picos to Atlantic cliffs, Mediterranean sierras, Canarias’ lava slopes, and green valleys, señales senderos montaña España adapt to altitude, climate, and visitor pressure. Standard systems—GR (red and white), PR (yellow and white), and SL (green and white)—coexist with local signage in parks and reserves, all guided by shared criteria described in the manual señalización FEDME. You share responsibility with managers and volunteers: they maintain, you interpret.
This guide shows you how to read hiking marks quickly and confidently. You’ll learn the GR PR SL meaning, understand continuity and direction marks, read posts and panels, use stone cairns mountain paths wisely, and avoid common mistakes. One clear image per topic, practical steps, and checklists keep it usable on the trail.
What you’ll get and how to use it
You’ll find a breakdown of Spain’s official systems, color codes, and the symbols that signal continuity, turns, danger, and end of route. We cover physical elements—posts, slats, arrows, panels—and how to read them fast at a junction. A brief scent of pine after rain can ground your focus on the next mark.
You’ll practice with real scenarios, learn a safe protocol when signs fail, and pick reliable resources: maps, the FEDME trail signage manual, and offline apps. Skim the headers now, then read fully before your next outing; keep the checklist handy for the car park. If you manage or mark paths, consult the manual señalización FEDME before lifting a brush.
Picuco te puede ayudar
Does something here catch your eye?
Tell us.
Write to us on WhatsApp or email: we answer questions, find the best options and help you sort out the booking.
The Main Systems You’ll See On Spanish Trails
Spain uses standardized waymarking families you can trust across regions. Knowing them saves time and doubt.
| System | Colors | Typical length | Code examples | Managed by | Good for |
|---|---|---|---|---|---|
| GR (Gran Recorrido) | Red + white | 50–1,000+ km, staged | GR-11, GR-7, GR-249 |
Regional federations, councils, clubs | Multi‑day routes, traverses |
| PR (Pequeño Recorrido) | Yellow + white | 10–30 km | PR-A 11, PR-CV 101 |
Local councils, clubs, parks | Day hikes, loops |
| SL (Sendero Local) | Green + white | 2–10 km | SL-M 1, SL-GI 20 |
Councils, parks | Short, family‑friendly |
| SU / Thematic | Variable + pictogram | Variable | Urban circuits, botanic routes | Town halls, parks | Educational/urban walks |
A single red-white pair in the corner of your eye can be all the assurance you need.
Gr — long journeys in red and white
GR routes connect regions and mountain chains, often in stages of 15–30 km per day. You’ll see red and white painted bars, especially at junctions and on rocks, trees, and postes; these are the marcas GR. Classic examples include the GR-11 (Senda Pirenaica), GR-7 (European E4 through Andalusia and Levante), and GR-249 (Gran Senda de Málaga). Imagine a neat red-white band catching sun on a limestone spur.
Plan by stages: check distance, ascent, water points, and refuges; carry maps or a GPX for redundancy. Expect consistent marking at decision points, less frequent marks on easy, obvious tracks, and confirmation blazes after a turn. When markings thin out, trust your map first, then search carefully for the next confirmatory mark within 50–100 m.
Pr and Sl — short routes that suit a single day
PR trails use yellow and white, while SL routes use green and white. PRs typically run 10–30 km, often as loops or spokes from a village; SLs are 2–10 km, ideal for families or a short afternoon walk. A small green-white splash on bark can be a friendly nudge to keep going.
Both share the same symbol language as GR: two parallel stripes for continuity, an angled “corner” for a turn, and a colored “X” to reject a path. Choose PR or SL when time is limited or when you want clear marcas PR SL with frequent waymarks and interpretive panels. SLs often add benches, handrails, and interpretive stops; PRs may stretch into quieter terrain.
Su and other variants — themed, urban, and complementary
Beyond GR/PR/SL, you’ll meet SU (urban routes), botanical circuits, historical itineraries, and park-specific themes. They often add logos or pictograms—leaf, acorn, tower—beside standard colors or use custom panels in a unified style. A small steel plaque with a heron pictogram can whisper that a wetland loop lies ahead.
Non-standard signage still follows logic: start panels list the route name, distance, and estimated time; arrows or slats show direction; repeats confirm you’re on track. Regulations vary, so icons, panel shapes, and paint may differ by region or park. When in doubt, read the legend at the trailhead board and compare symbols on your map.
Who maintains trails and where to find the rules
Local councils, regional environment departments, protected area services, and mountaineering clubs share maintenance. Volunteers repaint marks, replace slats, and report issues, but storms and growth can outpace any team. Fresh paint can smell faintly sweet on a cool morning, a sign of recent care.
The manual señalización FEDME sets reference criteria: color combinations, dimensions of stripes, placement heights, spacing, and the meanings of each symbol. It also covers maintenance intervals, materials, and safety considerations around roads or protected habitats. Consult it for consistency if you plan to mark or restore a path; it helps you avoid well‑meant errors that confuse hikers and harm habitats.
Colors And Symbols: What They Really Mean On The Ground
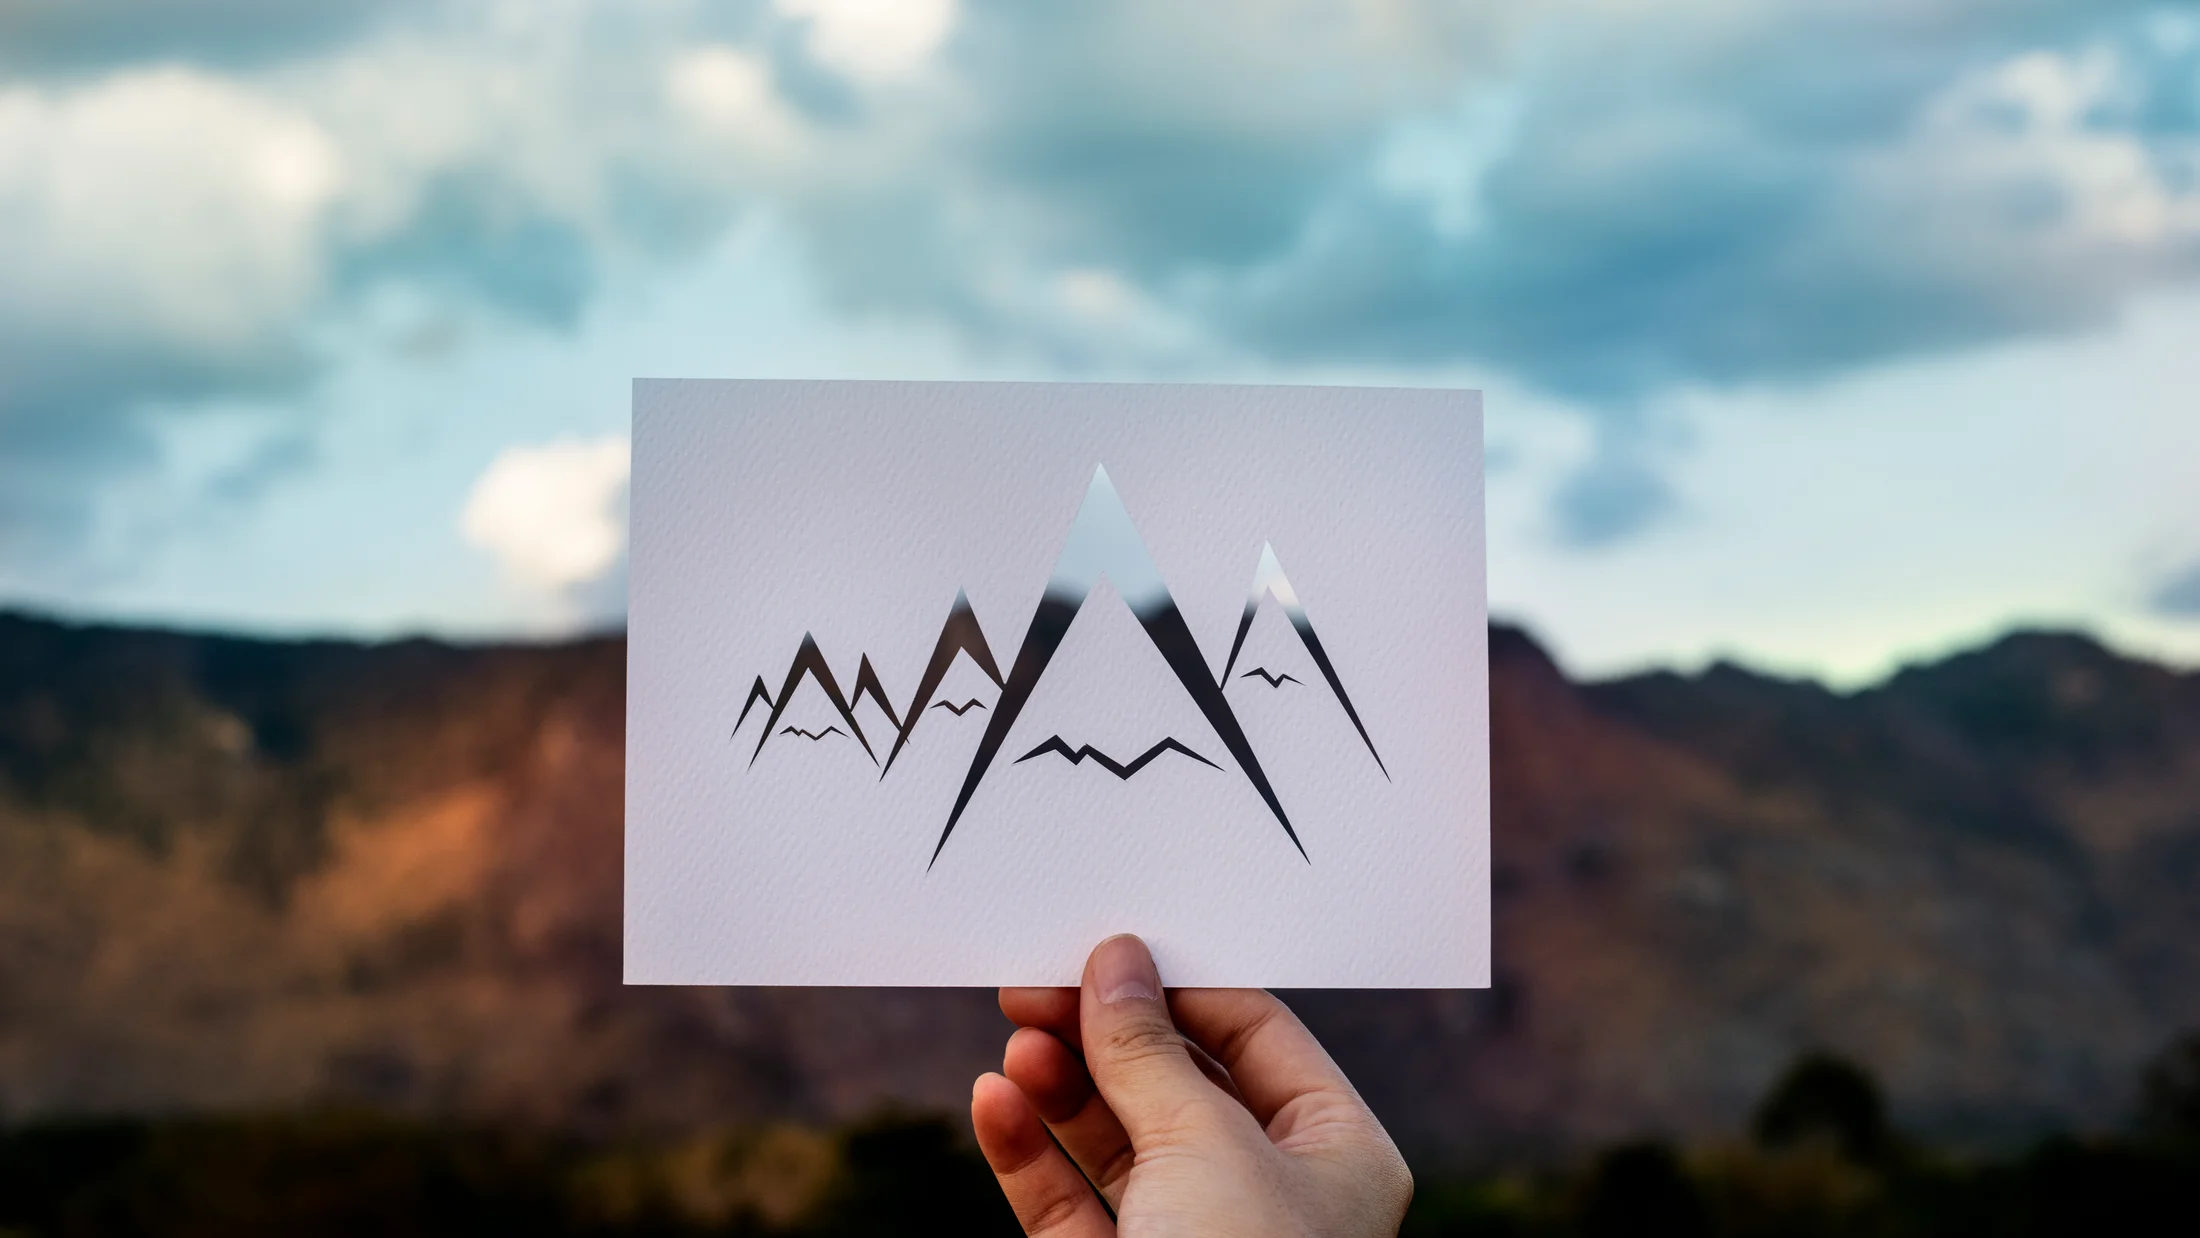
You decode a Spanish waymark by two clues: its colors and its shape. Red‑white is GR, yellow‑white is PR, green‑white is SL. The symbol’s form tells you what to do now—continue, turn, reject a path, or note a transition. A single crisp “X” of red and white on a pine trunk can stop your boots mid‑stride.
Start with continuity marks. Two short, horizontal bars—white plus the system color—painted parallel indicate “go straight.” On a post or rock, they often appear after a junction to reassure you that the last choice was correct. If the bars tilt to one side and form an angled “corner” or an offset L-shape, that’s a change of direction. The longer bar points the way; turn in that direction within a few steps, then look for a confirmation blaze.
Wrong way is an unmistakable “X,” formed by the system color crossing the white. You’ll often see it on the branch you should not take at a fork. Treat it as a stop sign: if you just passed one with the X facing you, you’re entering a rejected path; backtrack a few meters and scan for the correct turn. End of route is usually not a painted symbol in Spain; you’ll find it on a panel or a final post, sometimes with a route name plaque and distances back to the start.
Hazard and warning signs are mainly on panels or special posts, not painted blazes. You might see a triangle with an exclamation point, icons for rockfall, cliff edge, or avalanche paths. These are regulated by local and park norms and avoid visual clutter on rocks. Temporary warnings (e.g., forestry work) appear as laminated notices, barrier tape, or official roadwork flechas, and they should include dates.
Distinguish permanent from temporary marks. Permanent marks use durable paint, standardized dimensions (typically 10–15 cm long bars), and appear at consistent heights (chest to eye level) on rocks, trees, or posts. Temporary marks include surveying paint dots, race arrows in bright spray (often orange or pink), ribbons on branches, or chalk. Race marks often include a race logo or date; they should be removed after events and do not replace official waymarks.
Regional variation exists, but the language remains legible. Catalonia, Euskadi, and Navarra follow the same GR/PR/SL color logic while sometimes adding route shields on posts. In high mountains, paint is sparser to protect rock faces; cairns—those small stone cairns mountain piles—supplement marking where snow and freeze‑thaw erase paint. On the coast, salt and sun fade paint faster; posts and slats do more work.
Common errors are easy to avoid. Don’t confuse forestry blazes, tree pruning marks, or property boundary dabs with trail signs; official marks come in the white-plus-system-color pairing and use the shapes described above. Don’t assume a colored arrow equals your system; always verify the color pair. When two systems overlap, look for the color pair that matches your route code—GR-11 in red‑white instead of a nearby PR-A 11 in yellow‑white.
When the paint disagrees with your map, stop and reconcile. A re‑route may have occurred after landslides, closures, or conservation measures. Look for new posts or blanked‑out old marks; the freshest paint often wins. If in doubt, prefer the safer, better‑built path and seek a confirmation mark within 100 m before committing.
Reading Physical Signs: Posts, Slats, Arrows And Cairns
Paint tells you what to do; hardware tells you where and how far. Learn to read both quickly, and junctions become simple.
Posts and slats: what to check at a glance
At a junction, go straight to the postes or slatted panels. Read the route name and code (GR-249, PR-CV 101, SL-M 1) at the top, then scan the directional flechas for your destination or next landmark. A sun‑bleached wooden slat can still carry all the choices you need in two lines.
Look for:
- Route code and official logo (federation, park, council)
- Destinations and intermediate points
- Distance (km) and often time estimates (e.g., 2 h 10 min)
- Altitude of the location or notable passes
- Maintenance date or sticker noting inspection
If the post shows two or more routes, confirm your color pair matches the code. Times are estimates for a fit adult with short stops; adjust for your group. If the post looks vandalized, cross‑check with your map and seek a confirming painted mark within sight.
Arrows and painted marks: quick orientation in a tangle
Painted flechas on rock, small arrow stickers on posts, and corner‑shaped waymarks guide you through crowded junctions. When multiple arrows overlap, filter by your system colors first, then by the most recent, sharpest arrow. A fresh yellow‑white corner pointing right, still glossy in the shade, usually beats a faded smear.
Best practices:
- Read the
marcas continuidad desvíoin sequence: confirm continuity, then spot the angled turn, then find the confirmation mark after the turn. - If three arrows point three ways, identify which two are race/tour arrows (single color, no white) and which is your official pair.
- When marks are superposed (e.g., PR and GR together), follow your color and code, even if it means the same direction for a while.
At ambiguous bends, walk 10–20 m in the intended direction and hunt for the next confirmation mark. If none appears, return to the junction and test the alternative branch before committing further.
Cairns and improvised signs: use them wisely
Hitos montaña, the small piles of stone, are traditional aids in rocky highlands and snow to trace a general line. They are helpful where paint doesn’t last and posts would be torn by wind. A neat cone of hand‑warmed stones can guide you to the next pass in fog.
Treat cairns with care:
- Trust cairns only when they align with your map and general bearing.
- Ignore giant “artistic” piles far off track; they are often noise.
- Never dismantle official cairns, and do not build new ones in protected areas; they confuse others and disturb habitat.
Improvised signs—sticks as arrows, ribbons on branches, chalk on rock—signal temporary detours, events, or someone’s private route. Cross‑check them against official marks and resources; follow only when they make sense with your plan and safety.
Putting It All Together On The Trail: Real Situations, Clear Decisions
Practice builds fluency. These typical scenarios show how to interpret signs and confirm your choices under pressure.
Common junction puzzles and how to solve them
- Case 1: Two systems at one fork. You arrive and see red‑white continuity left and yellow‑white continuity right. You planned
PR-A 11, so choose the yellow‑white and confirm with a post or second blaze in 50–100 m. The smell of warm pine needles underfoot can slow you just enough to spot the right sign. - Case 2: Continuity then a sudden deviation. You pass a continuity mark, then 30 m later a right‑corner mark. Turn right, then walk 15–30 m to find a post or a second confirmation blaze. If none appears, return and check whether the corner belonged to a different color pair.
- Case 3: A bold “X” on an inviting track. You see a red‑white X blocking the wider path and a small singletrack to the left with a faded corner. Trust the X; take the singletrack and seek a fresher confirmation.
- Case 4: A race arrow overlaps your PR corner. The orange spray arrow points straight, but your yellow‑white corner turns left. Follow the corner; races often leave legacy marks that don’t reflect current routing.
When in doubt, apply this simple loop: identify your system and code; read the shapes (marcas continuidad desvío); walk a short probe; seek confirmation; compare with map/GPS; decide and proceed or revert.
Difficult conditions: snow, fog, vegetation, and night
Snow buries paint and slats, and fog erases far cues, so you shift to cairns, posts, and solid terrain features—ridges, streams, passes. In a whiteout, the muted crunch underfoot can be your only steadying sound.
Use:
- GPS/GPX track as a back‑up line, not as a pilot; drift and battery drain are real.
- Map and compass to maintain a bearing between known points; practice before you need them.
- Reflective tags where installed; some protected areas add them for nocturnal safety.
- Audible and visual group spacing; keep line of sight in fog or darkness.
Limitations:
- GPS can be 5–15 m off in canyons or forest.
- Tracks shared online may be outdated or wrong.
- Cairns can be buried or scattered by storms.
- Night hiking narrows your field; move slower, increase checks, and avoid committing to steep, exposed lines.
Practice exercises and a pre‑departure checklist
Build the habit before your next route. A single minute of preparation can save an hour on the hill.
Exercises:
- Identify 10 marks from photos: continuity, right/left corner, wrong way “X,” two systems overlapped.
- Trace one stage of the
GR-11on a 1:25,000 map; mark expected posts and likely confirmation blazes. - Compare two nearby PRs; note where they share track and where they split.
Checklist:
- Route code and expected
color codes trails Spain(e.g.,PR-A 11= yellow‑white) - Map (paper or PDF), compass, and offline app with GPX
- Spare battery/power bank; device in airplane mode
- Weather forecast and daylight window
- Group plan: regroup points, turn‑around time
- Knowledge of local norms; if you plan to mark or volunteer, read the
manual señalización FEDMEfirst
Pack a pen to jot coordinates like 42.695°N, 0.536°W if you need to report an issue later.
When Signs Fail: Safe Protocols And Reliable Resources
Even well‑kept paths can lose marks to storms, logging, or vandalism. A calm, methodical approach keeps you out of trouble and helps others later.
On‑trail protocol when signage is missing or damaged
Stop the moment you doubt your line. Gather the group, share what each person saw last, and agree on the next step. The cool shade under a beech can give you the quiet to think clearly.
Follow this order:
- Halt and mark your position (photo of surroundings, GPS waypoint).
- Check map and GPX; compare terrain with contours and features.
- Search within a 50–100 m radius for marks or posts.
- If still uncertain, backtrack to the last clear mark or junction.
- Decide: continue only if you can confirm the route within acceptable risk; otherwise, retreat.
Group management:
- Keep the slowest person central; appoint a navigator and a tail.
- Communicate clearly; avoid splitting unless necessary for a short, line‑of‑sight probe.
- Set a time limit for searching before turning back.
This is the essence of qué hacer si las señales faltan: stop, assess, confirm, and choose safety over pride.
Reporting damage and helping conservation
Your report can trigger a quick fix. Contact the local council, park office, or the relevant mountaineering club or federation. A gentle voice and good data go far.
Include:
- Exact location:
latitude/longitudeor kilometer marker; e.g.,36.905°N, 4.506°W, stage name - Photos: the damaged post or faded paint, plus context from 10–20 m
- Description: missing slat, vandalized X, tree with marks cut
- Date/time and route code
Use official channels first (council environment office, park visitor center), then club contacts. Do not repaint or move posts without authorization; instead, collaborate with local clubs on scheduled maintenance days.
Essential resources: maps, manuals, and offline apps
Reliable sources keep you independent:
- Maps:
- IGN 1:25,000 and 1:50,000 topographic maps (update frequency and contour detail)
- Regional cartography portals (Navarra, Catalunya, Andalucía) with up‑to‑date route layers
- Manuals:
manual señalización FEDMEfor standards, colors, spacing, and maintenance
- Apps:
- OruxMaps, TopoGPS, komoot, and Wikiloc for offline maps and GPX navigation
- Download tiles and tracks for offline use; test airplane mode before leaving coverage
Choose sources by:
- Update date and change logs
- Public authority or recognized federation provenance
- Community validation and comments for GPX tracks
- Compatibility with your device and ease of offline caching
Keep a paper map as a fail‑safe; batteries fade faster in cold winds.
When To Go, How To Get There, And Where To Stay Near Signed Routes
Good timing and logistics make interpreting signs easier. Plan with climate and daylight in mind, and rests will feel well earned.
Seasons and conditions across Spain
Spain’s variety demands seasonal thinking. In the Pyrenees and Cantabrian ranges, snow can linger above 1,800–2,000 m from November to May; in Sierra Nevada, higher than 2,500 m even longer. In low Mediterranean sierras, summer heat pushes starts to dawn and finishes to mid‑morning. A thin veil of mist over a river at sunrise can reveal dewy paint before it fades into glare.
Guidelines:
- Spring and autumn are ideal for most PR/SL in central and northern Spain.
- Summer suits high routes before storms; avoid afternoon heat in the south and islands.
- Winter is perfect for coastal PR/SL and lowland SL; seek south‑facing slopes to avoid hidden ice.
Adjust kit and expectations:
- Vegetation can swallow marks in late spring; scan trunks and backs of posts.
- Snow buries paint; rely on posts, cairns, and GPX.
- Short winter days mean stricter turn‑around times.
Getting there and staying the night
Many PR/SL start in villages served by buses or regional trains; GR stages often connect towns, letting you return by public transport or taxi. If you drive, check for designated parking and any permits required in protected areas. The clink of trekking poles on tarmac can be your cue to look for the first slat at the village edge.
Lodging options:
- Refuges: staffed mountain huts on GRs, typically 45–65 € half‑board; book in advance on popular weekends
- Hostels and albergues: 15–30 € bed‑only; simple and social
- Casas rurales and small hotels: 25–50 € per person, depending on region and season
- Campgrounds: good bases near SL/PR networks; confirm shoulder‑season opening
For GR stages, reserve refuges from two weeks to a month ahead in peak times. Always confirm opening dates and meal services outside high season.
Routes to practice your sign‑reading
Pick a mix that highlights posts, paint, and hitos montaña.
- Easy: Río Borosa path, Sierras de Cazorla, Segura y Las Villas (
PR-A 11, 9–12 km options). Clear yellow‑white, many slats, and frequent confirmation marks teach you rhythm without stress. - Moderate: Gran Senda de Málaga
GR-249, stage around El Torcal (15–20 km). Red‑white with overlapping local slats and road crossings hone your junction decisions. - Long: A
GR-11stage in the central Pyrenees (15–25 km, +700–1,200 m). Sparse paint in high meadows andhitos montañaon rocky cols force you to combine symbols, cairns, and map.
These choices bring repeated marcas GR PR SL into view, build your confidence at forks, and show how terrain changes the way signs “speak.”
Safety, Stewardship, And The Ethics Of The Path
Good navigation is part of mountain safety, and both sit inside a bigger ethic: we enjoy landscapes others maintain and communities call home. A breeze carrying woodsmoke from a valley hamlet is a reminder that trails link people as well as places.
Plan responsibly. Share your route and return time; pack layers, rainwear, headlamp, first aid, food, and enough water or purification. Keep phones warm in winter and shaded in summer; carry a power bank. Agree on group roles and a turn‑around time before you start climbing.
Minimize impact. Stay on signed routes to protect soils and flora, especially in dunes and alpine turf. Do not build cairns, scratch rocks, or add paint; these acts confuse others and degrade the place. Yield to workers and livestock; close gates behind you. Keep noise low around wildlife and huts.
Manage waste. Carry all litter out, including organic peels; micro‑trash matters. Use toilets at trailheads and refuges; bury human waste 70 m from water if necessary and pack out paper. At refuges, respect quiet hours, boot and gear zones, and staff instructions.
Share the trail. Greet locals and volunteers; ask before crossing private track spurs. Dogs must be leashed where required. Give priority on narrow ground to those ascending or carrying heavy loads.
As you read and follow signs, remember: maintenance is often volunteer powered. Your careful footsteps and timely reports are part of keeping the trail alive.
Frequently Asked Questions
How do I tell Gr, Pr, and Sl apart in the field?
Colors and codes. GR is red‑white for long routes (GR-11, GR-7), PR is yellow‑white for day routes (PR-CV 101), and SL is green‑white for short local paths (SL-M 1). Panels and posts repeat the code and color pair.
What should I do if I think I’m off the route?
Stop, mark your position, and compare terrain to your map and GPX. Backtrack to the last clear mark or junction and look for a confirmation blaze within 50–100 m. If you cannot confirm safely, turn back.
Can I repaint or add marks on my own?
No. Painting or moving signs without authorization creates confusion and can violate regulations. Instead, report issues to the local council, park, or mountaineering club and volunteer on scheduled maintenance days.
How do I report damaged or missing signage?
Send the exact location (GPS coordinates), photos, route code, and a brief description to the local council or park office, and copy the regional mountaineering federation or club. Include date/time and contact details.
Which apps help with Spanish trails?
OruxMaps, TopoGPS, komoot, and Wikiloc allow offline maps and GPX tracks. Download tiles and tracks before you go, carry a power bank, and keep a paper map as a backup.
What do continuity and direction marks look like?
Continuity is two short, parallel bars in white plus the system color. A turn forms an angled corner, with the longer bar pointing the new direction. A colored “X” over white means “wrong way.”
Final Thoughts And Your Next Step
Reading Spain’s trail signs is a compact skillset: know the systems (GR/PR/SL), decode the shapes (continuity, corner, X), read posts quickly, and keep a safe protocol for uncertainty. The manual señalización FEDME anchors the whole system, while IGN maps, reliable apps, and your common sense fill the gaps. A single, well‑placed blaze on a sun‑warmed boulder can be the difference between an effortless turn and a needless detour.
Before you go, pick a route that matches your time and conditions, pack a map and offline GPX, and agree on a turn‑around time. Practice on a short SL or PR to build rhythm, then step up to a GR stage to combine posts, paint, and cairns with confidence. Report damage when you find it; your note helps keep the network safe for everyone.
If you want to keep improving, download our printable pre‑route checklist from Picuco and try one of our carefully selected PR loops this month. Share your experience with the community, and help us spotlight the volunteers and local hosts who make these paths possible.