Why Vernacular Architecture Still Matters
Context and brief definition
Start here if you have ever felt a stone farmhouse keep its cool while the street outside bakes. Vernacular architecture means buildings shaped by local needs, skills, and climate, made with nearby resources and indigenous building techniques rather than academic styles. It differs from formal, architect-designed traditions by growing from community practice and transmission, not from blueprints taught in schools.
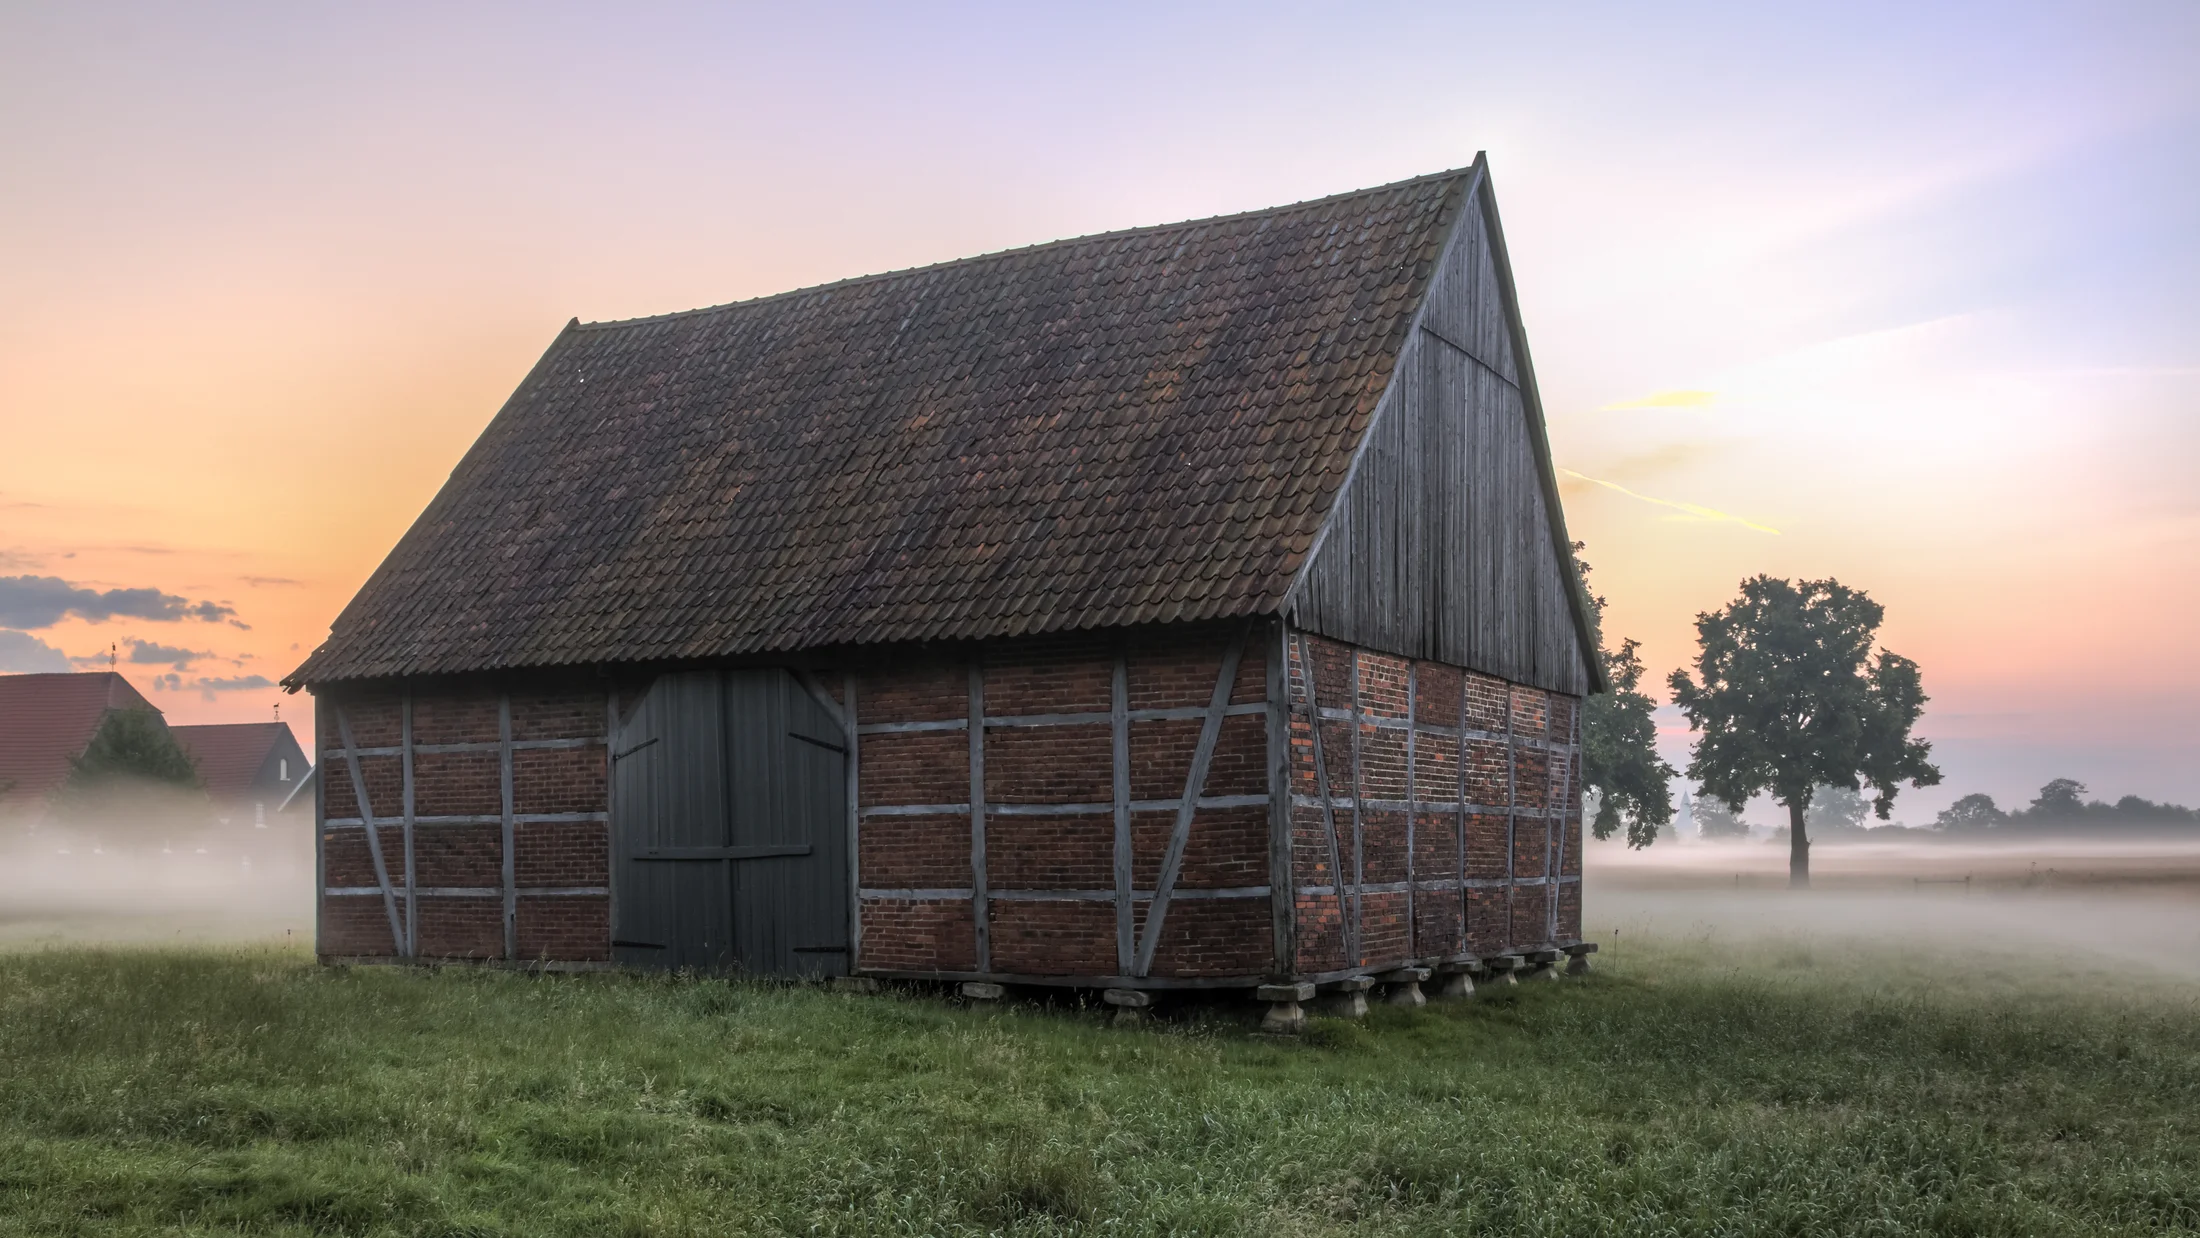
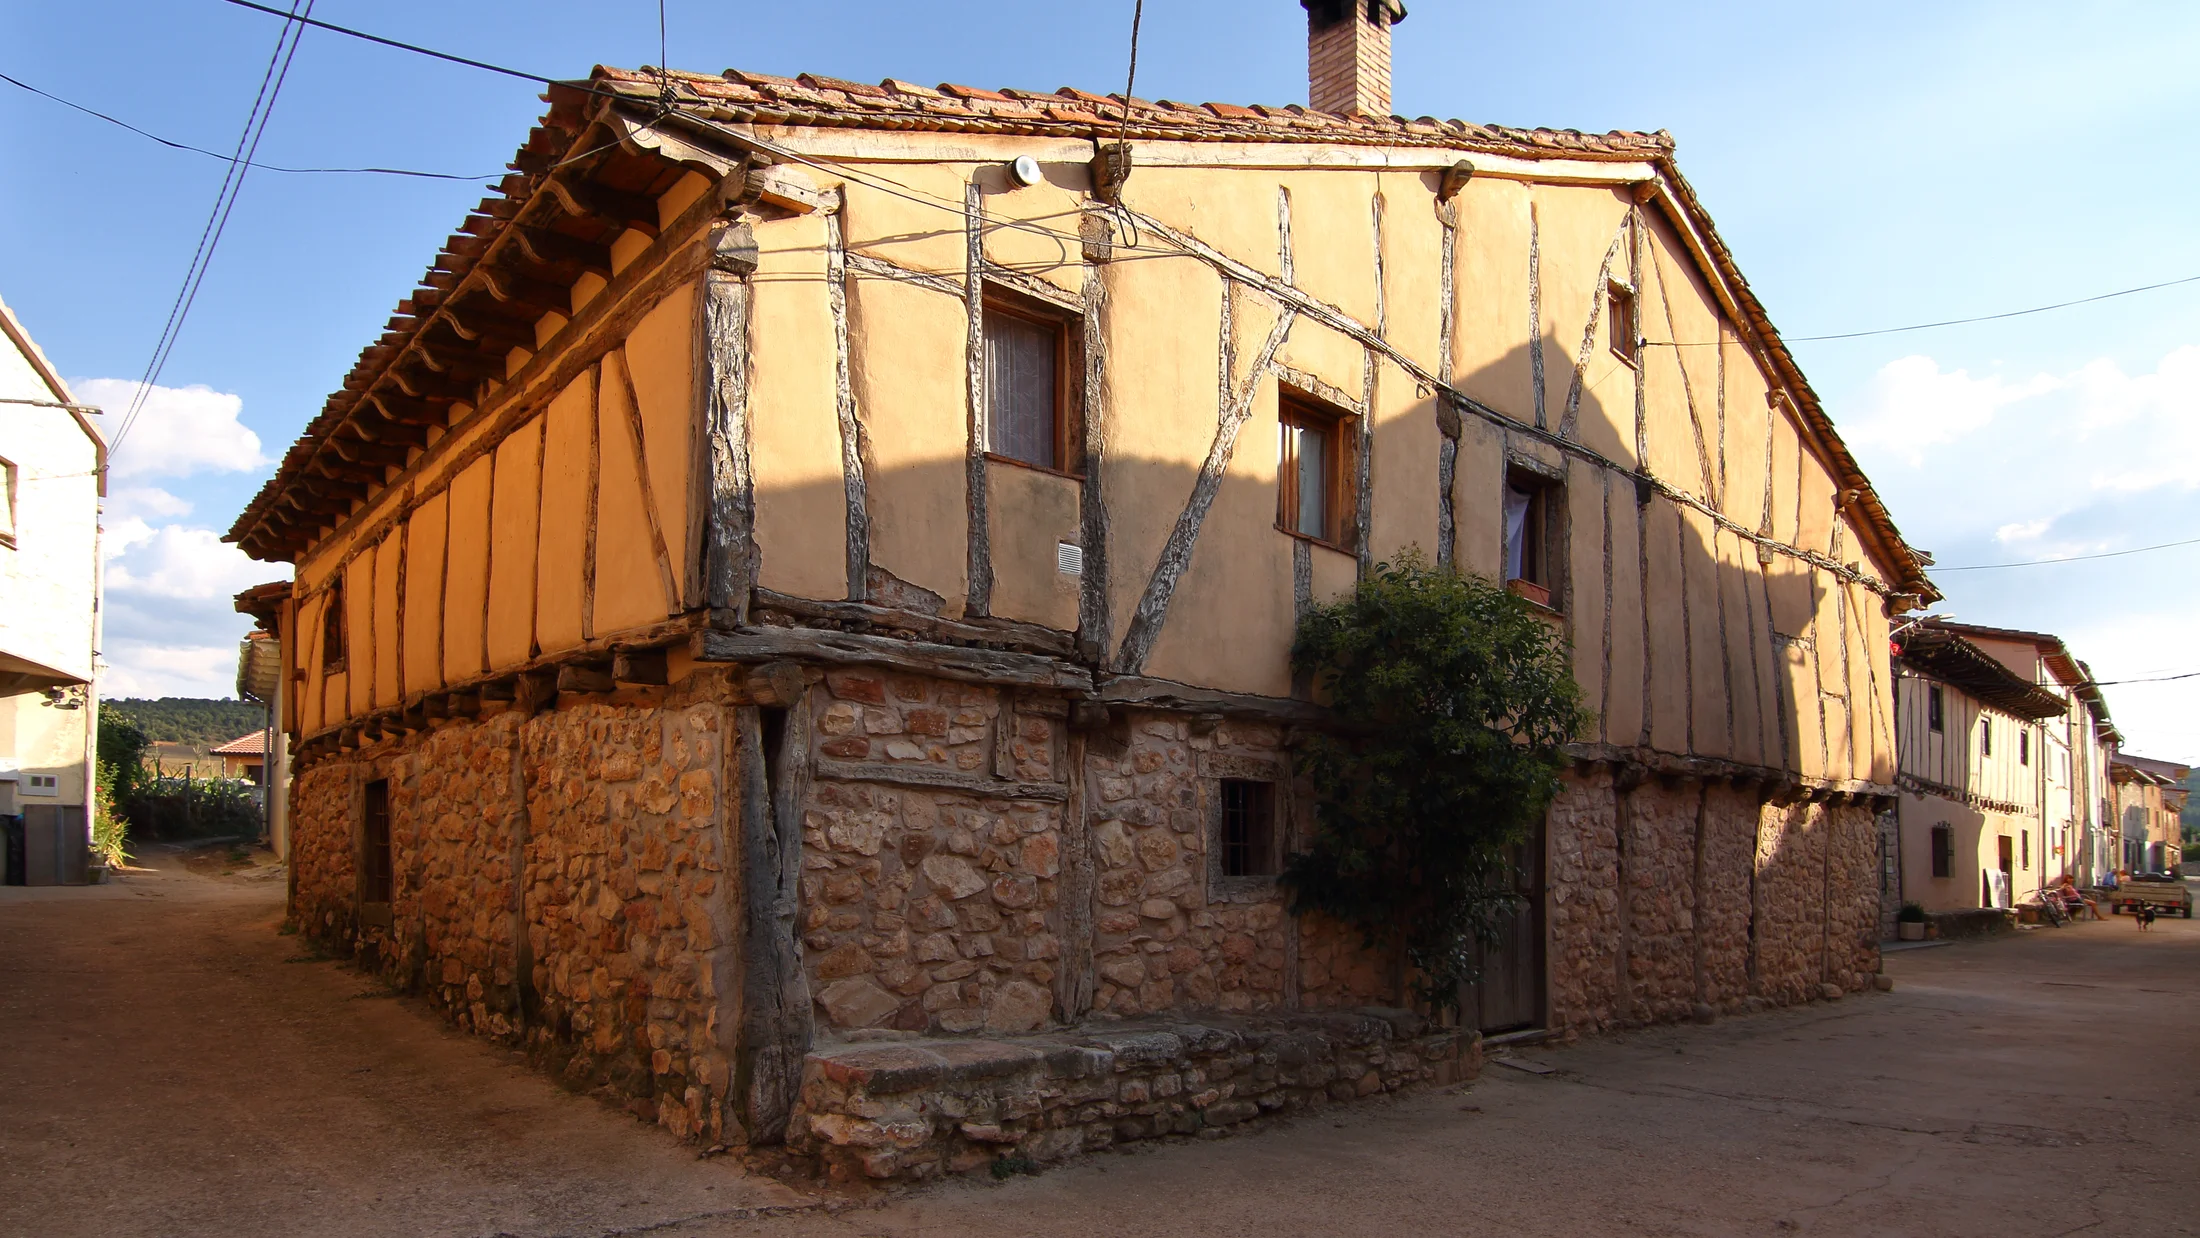
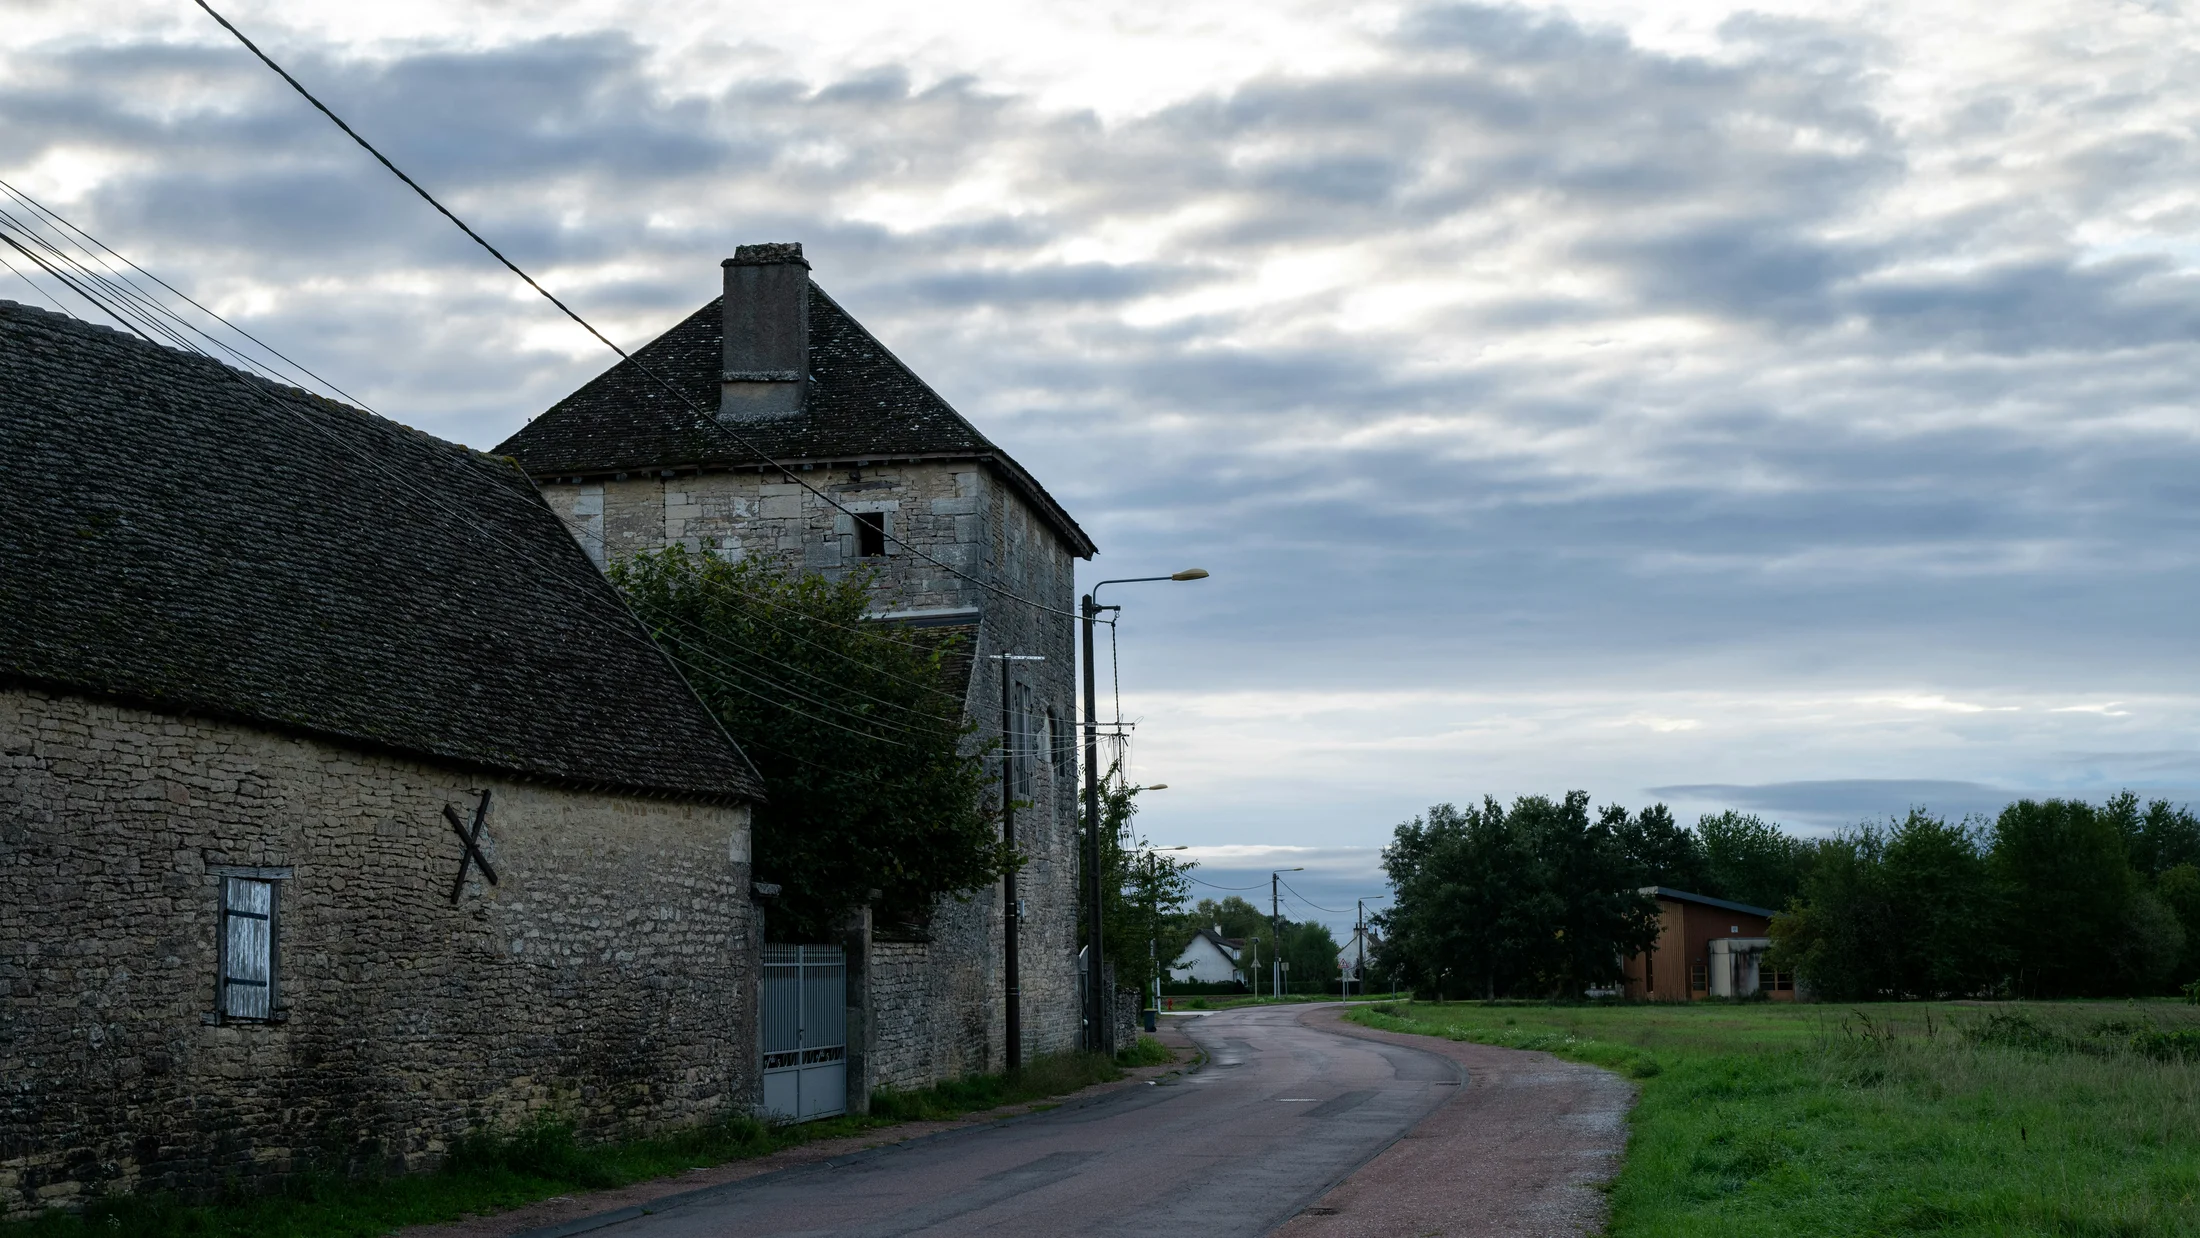
Think of whitewashed farmhouses in Andalusia, slate-roofed barns in Asturias, or dry-stone huts on Mediterranean hillsides. Traditional architecture often overlaps, but vernacular architecture stresses adaptation to the environment, economy of means, and the know-how handed down on site. You will see it in proportions set by timber lengths, wall thicknesses defined by climate, and ornament that works—like deep eaves that double as shade.
Why it matters: sustainability, heritage and Community
In a warming world, buildings can save energy before you switch on a device. Vernacular architecture uses local materials, passive cooling, and low-tech solutions that lower embodied carbon and operating energy (IEA estimates buildings account for around 37% of energy-related CO₂ emissions, 2022). These places also hold architectural heritage and a sense of identity.
Picture limewash reflecting sun, the air faintly chalky on your fingertips. In this article you will learn how to recognize patterns, select local materials, and apply indigenous building techniques safely. You will also find checklists to use on site and tips to adapt time-tested solutions without freezing them in time.
Picuco te puede ayudar
Does something here catch your eye?
Tell us.
Write to us on WhatsApp or email: we answer questions, find the best options and help you sort out the booking.
Core Ideas Behind Vernacular Architecture
Expanded definition and key characteristics
Begin with the house that fits its place like a glove. Vernacular architecture is a body of solutions tuned to climate, topography, and available skills; it privileges adaptation, not novelty for its own sake (Oliver, Encyclopedia of Vernacular Architecture, 1997). In contrast, traditional architecture may also be codified or stylistic, while vernacular stays pragmatic and place-bound.
Look for recurring traits that you can verify on the ground:
- Response to climate: thick adobe (45–60 cm) for thermal mass in arid zones; small openings and patios for cross ventilation.
- Economy of means: wall lengths set by local timber spans; stone used where quarries lie within walking distance.
- Transmission of knowledge: techniques learned in the yard, not the classroom, and refined by iteration.
- Functional ornament: deep eaves for summer shade, limewash for reflectivity and sanitation, not just for looks.
Now step closer and feel the cool edge of a north-facing wall at noon. These features persist because they work, and they work at human scale.
Local materials and indigenous construction techniques
Choose the material that the ground offers first. Local materials reduce transport, embed local character, and often align with climate—stone in wet, windy hills; earth where summers are hot and dry; timber where forests still stand. Indigenous building techniques—enchinado (pebble paving), entramado (timber frame), tapial (rammed earth), cob (clay-sand-straw mix), and thatch—turn these resources into durable envelopes.
- Advantages: shorter supply chains, lower embodied energy, easier repairability, and compatibility with existing fabric.
- Limitations: sensitivity to water (earth walls need good boots and a hat), maintenance needs (limewash renewals), and structural spans constrained by material.
You might smell straw in a fresh cob wall while the clay dries in the shade. Use the quick comparison below to align choices with purpose:
| Material | Typical use | Pros | Cons |
|---|---|---|---|
| Adobe/rammed earth | Load-bearing walls | High thermal mass, low embodied carbon | Moisture sensitive; needs plinth and eaves |
| Stone (dry or mortared) | Walls, terraces | Durability, inertia, local identity | Skilled labor, heavy to move |
| Timber (entramado) | Frames, floors, roofs | Speed, flexibility, repairability | Needs protection from moisture/insects |
| Thatch/straw | Roofing, insulation | Excellent insulation (λ low), renewable |
Fire risk and maintenance |
Heritage, identity, and ecological construction
Treat these buildings as living heritage, not museum pieces. Vernacular architecture carries community memory, craft vocabularies, and land-use patterns; it can also guide sustainable construction by proving passive strategies that work. UNESCO recognizes the “Art of Dry Stone Walling” as Intangible Cultural Heritage (2018), and similar techniques underpin resilient terraces and field shelters across Spain.
Imagine the rough warmth of a lime-plastered wall in the evening sun. Policies like Spain’s Law 16/1985 on Historical Heritage and local catalogs protect ensembles and details, but good practice goes further: adapt carefully for today’s needs—fire safety, accessibility, moisture control—without erasing what works. Balance conservation with reversible upgrades, favor breathable materials, and document every change as part of the building’s ongoing story.
From Field Notes to Building: Applying Vernacular Techniques
Step 1 — Site reading and documentation
Start by learning the place before drawing a line. Walk at different times of day, record sun paths, wind patterns, seasonal RH (relative humidity), and observe how older buildings respond. Photograph details, sketch sections, and draft simple cards listing typologies and materials you find.
Picture cedar smoke at dusk drifting across a stone hamlet as you take notes. For vernacular architecture, interviews are data: talk with masons, carpenters, and neighbors about foundations, roof pitches, and flood history. Build a mini-inventory:
- Climate: degree-days, prevailing winds, summer highs and winter lows.
- Form: orientation, patio use, window sizes, eave depth, wall thickness.
- Materials: what is still quarried, cut, or grown locally within 30–50 km.
- Techniques:
tapial,cob, lime mortars, dry stone; who still practices them.
Document coordinates, elevations, and typical room sizes; a two-page photo log per building will save months later.
Step 2 — Selecting local materials and testing fit
Let the nearby quarry, forest, and soil bank set your palette. Choose materials by availability, durability, and compatibility with existing fabric and indigenous building techniques. Screen your options with four criteria: source distance, repairability, moisture behavior, and embodied impact.
Smell the damp clay as you roll a test ball in your palm. Run simple, low-cost checks before you commit:
- Soil test: jar test for clay/silt/sand ratio; make 5 × 5 × 5 cm cubes to check shrinkage.
- Lime check: test-set a lime mortar (1–1 lime to sand), measure hardness after 28 days.
- Timber assessment: inspect for sapwood, knots, and moisture content (
MC< 20% before use). - Stone review: look for lamination and salt efflorescence; avoid friable beds.
Ask local artisans to review samples and run a small mock-up wall. Compare embodied carbon roughly using published databases (e.g., University of Bath ICE, 2019) and choose the lowest reasonable option that meets performance.
Step 3 — Adaptive design and executing vernacular techniques
Design with what already works, then layer today’s needs. Keep the proportions, orientation, and ventilation patterns you found: narrow plans for cross-breeze, high ceilings with operable clerestories, deep eaves on the south, and a north service band. Use breathable assemblies—earth walls plus lime plasters—to protect the moisture balance (U-value is useful for heat flow, but vapor openness matters equally).
Feel the draft slip through a shaded patio while you check the section. When executing techniques:
- Document each indigenous method: mixes, lifts, curing times, tool types, and sequencing.
- Form teams mixing experienced craftspeople with apprentices; assign a site lead to verify methods daily.
- Specify compatibility: lime with earth and old masonry; avoid rigid cement on soft substrates.
- Plan reversible upgrades: timber sarking for seismic tying, interior service chases that don’t cut historic walls.
Supervise with a short daily checklist and photograph every stage; those images become training material and proof of quality.
Common Mistakes and How to Avoid Them
Errors in diagnosis and valuing vernacular heritage
Rushing the first week often costs the next five. Many teams undervalue structural systems, assume anything “old” is obsolete, or skip documentation that would reveal why a detail exists. Misreading a ventilated attic as “wasted space,” for example, often removes passive cooling the house depended on.
Smell the dust rise as you open a trapdoor into a cool roof void. Prevent these errors with a fast, repeatable checklist:
- Map patterns: orientation, wall thickness, eaves, window-to-wall ratio.
- Identify materials: earth, lime, stone, timber; note condition and moisture sources.
- Record techniques: dry-stone bonds,
tapiallift height, timber joints; capture photos and sketches. - Consult the community: interview craftspeople and long-term residents.
- Bring an expert for two hours: a conservation architect or structural engineer familiar with local types.
Errors in execution and contemporary adaptation
Compatibility is not optional; it is the project. Common failures include swapping lime for rigid cement on adobe, sealing walls with plastic paints, shrinking ventilation paths, and applying dense gypsum inside breathable envelopes. These choices trap moisture, crack finishes, and undermine durability.
Imagine a fresh coat of plastic paint glistening—and the wall sweating beneath. Fix them with clear rules:
- Substitute like for like: lime for lime, earth for earth; where modern additions are needed, make them reversible.
- Preserve ventilation: keep high-low paths, attic vents, and patio-breeze geometries.
- Test junctions: mock up wall–roof and wall–floor connections; check for capillary breaks and drips.
- Phase upgrades: add insulation where it does not trap moisture (e.g., ventilated roofs, interior lime-wood fiber panels).
Errors in maintenance and long-term management
A good handover beats a larger repair in five years. Frequent missteps include no maintenance plan, using harsh treatments, and ignoring water management. Many vernacular envelopes rely on sacrificial layers—limewash, earthen plasters—that you must renew.
Hear the soft scrape of a brush renewing a chalky limewash coat. Build simple, cyclical routines:
- Seasonal inspection: gutters, downpipes, eaves, plinths, splashback zones.
- Gentle cleaning: water and soft brushes; avoid pressure washers and impermeable sealers.
- Compatible treatments: boron salts for timber, breathable mortars for repointing, limewash every 2–5 years.
- Documentation: photo and note each intervention; track dates and materials.
- Local training: keep a small toolkit and a short manual on site for owners or caretakers.
Practical Checklists for Rural Vernacular Projects
Checklist — Pre-project (site reading and permits)
Use this list to align scope, budget, and context before you draw. Prioritize high-impact, low-cost steps first, then phase specialist tasks.
Breathe in the cool shade of a north wall as you plan the sequence. Tick these items:
- Identify local vernacular types: patios, roof pitches, eaves, wall systems.
- Map nearby materials: quarries, sawmills, soil banks within 30–50 km.
- Interview artisans: masons, carpenters, plasterers; collect phone numbers and rates.
- Climate scan: sun path, winds, rainfall; note overheating months and cold snaps.
- Heritage review: check municipal catalogs and Spain’s Law 16/1985 for architectural heritage obligations.
- Permits: confirm works needing approval; prepare drawings and method notes for techniques.
- Budget priorities: protect from water first (roof, plinth, drainage), then comfort (shade, ventilation), then finishes.
Checklist — During works (quality and compatibility)
Use direct, observable controls every day. Short loops catch errors before they grow costly.
Feel the grit in a lime-sand mix between your fingers during a spot check. Keep this on the wall:
- Mix control: record ratios, sieve sizes, curing times; label every batch.
- Material compatibility: no cement on earth; breathable paints only; treat timber ends.
- Technique supervision: verify
tapiallifts, cob moisture, and lime carbonation time. - Mock-ups: test a 1 m² panel for finish, color, and cracking before full application.
- Photo log: record junctions, layers, and hidden services each day.
- On-site training: 15-minute toolbox talks about moisture, breathability, and safety.
- Performance tests: spot-check humidity with a hygrometer, monitor cracks, and watch for new damp patches after rain.
Checklist — Post-works and maintenance
Hand over knowledge with the keys. A living building needs light, regular care, not heavy rescues every decade.
Smell fresh lime as it cures slowly in spring air during your final walk-through. Set these routines:
- Inspections: quarterly for the first year, then twice yearly; after major storms.
- Water management: clear gutters and drains; keep plinths and splash zones intact.
- Breathable renewals: limewash schedules, earthen plaster touch-ups; record dates.
- Timber care: check joints, insect activity; use compatible preservatives.
- Alarms: note new salts, hairline cracks growing, sticky doors, and musty odors; investigate source.
- Documentation: update a simple building log with materials, dates, and contacts; treat it as living heritage.
Conclusion: Care, Adaptation, and Next Steps
If you have read this far, you already look at old walls differently. Vernacular architecture is not nostalgia; it is a toolkit for climate, culture, and community that has proven itself under generations of use. By reading the place first, choosing local materials, and executing indigenous building techniques with care, you cut energy needs, reduce embodied carbon, and keep a living architectural heritage in service.
Picture evening air cooling a patio while limewashed walls glow softly. Your next steps can be simple and concrete: take a short course in lime mortars or earthen construction with a regional training center; join networks of artisans and conservation architects; read Paul Oliver’s Encyclopedia of Vernacular Architecture (1997), the ICOMOS charters, and local heritage catalogs. For Spain, consult municipal protection plans and regional guides, and speak early with heritage officers to align permits with best practice. If you are planning a rural stay or a hands-on workshop with local craftspeople, explore Picuco to connect with carefully selected providers who work at the pace of the territory.
Start small—a mock-up wall, a repaired eave, a revived ventilation path—and document each step. What you conserve today is not just a façade; it is a way of building that will help tomorrow’s summers feel lighter, one cool room at a time.