Why Caving Difficulty Levels Matter Before You Step Underground
Understanding caving difficulty levels helps you pick the right cave, carry the right gear, and come home safe. In plain terms, difficulty levels are a way to describe how tricky a cave is: how technical the moves are, how much rope work you need, how wet or cold it gets, and how hard it is to find your way out. If you are new, a weekend explorer, a climber curious about vertical caves, or a guide planning trips, this framework turns unknowns into clear decisions.
You will use these levels to plan realistic goals, match equipment to conditions, and decide when to book a guided visit or enroll in a course. Damp air cools your cheeks as light dust lifts under your boots. In the next sections, you will learn the core concepts, see a simple six-class system in detail, and get a step-by-step path from beginner caving to technical cave diving. You will also find common mistakes to avoid, a pre-cave checklist, and trusted resources for training.
Quick safety anchor
Carry three independent light sources, wear a certified helmet, and tell someone your plan with a turnaround time. The National Speleological Society (caves.org) and the British Cave Rescue Council (bcrc.org.uk) publish practical safety advice.
Picuco te puede ayudar
Does something here catch your eye?
Tell us.
Write to us on WhatsApp or email: we answer questions, find the best options and help you sort out the booking.
Key Concepts That Shape Difficulty Underground
First, a few words you will hear underground. A cavity is any underground void; a cave is a natural cavity big enough to enter; a pit or shaft (sima) is a vertical entrance. Chambers or vaults are big rooms; conduits or galleries are the connecting tunnels; siphons or sumps are water-filled passages. The people: a caver (speleologist) explores dry or wet caves on foot and rope; a guide leads others; a cave diver (espeleobuceador) passes sumps using diving gear. Crisp air often sits between 8–12°C in temperate limestone caves, cooler near streams.
Difficulty is not only about strength; several factors combine:
- Technical difficulty: the skills and techniques needed, from scrambling to
SRT(single rope technique) to cave diving protocols. - Physical demand: distance, crawling time, vertical meters, and load you must carry.
- Water exposure: depth, temperature, current, and flood risk in active streams or after rain.
- Orientation complexity: how easy it is to navigate, number of junctions, and likelihood of getting lost.
- Objective risk: rockfall, low oxygen pockets, silt-outs in water, and remoteness that complicates rescue.
For speleology for beginners, easy Class 1–2 trips help you learn movement, teamwork, and awareness. For caving safety, add backup lighting, warm layers, and clear communication signals before you go. For speleology equipment, think systems: head-to-toe protection plus navigation, rope work, and emergency kit matched to class. Mud smells earthy and metallic near active drips. With these basics, the classification below gives you a shared language to assess routes, compare notes with local clubs, and plan skills training.
Know your karst, know your weather
Karst drains fast on the surface but can funnel storm water underground quickly. Check rainfall forecasts, snowmelt timing, and local flood warnings before entering active stream caves. IGME-CSIC publishes karst and hydrogeology maps: igme.es.
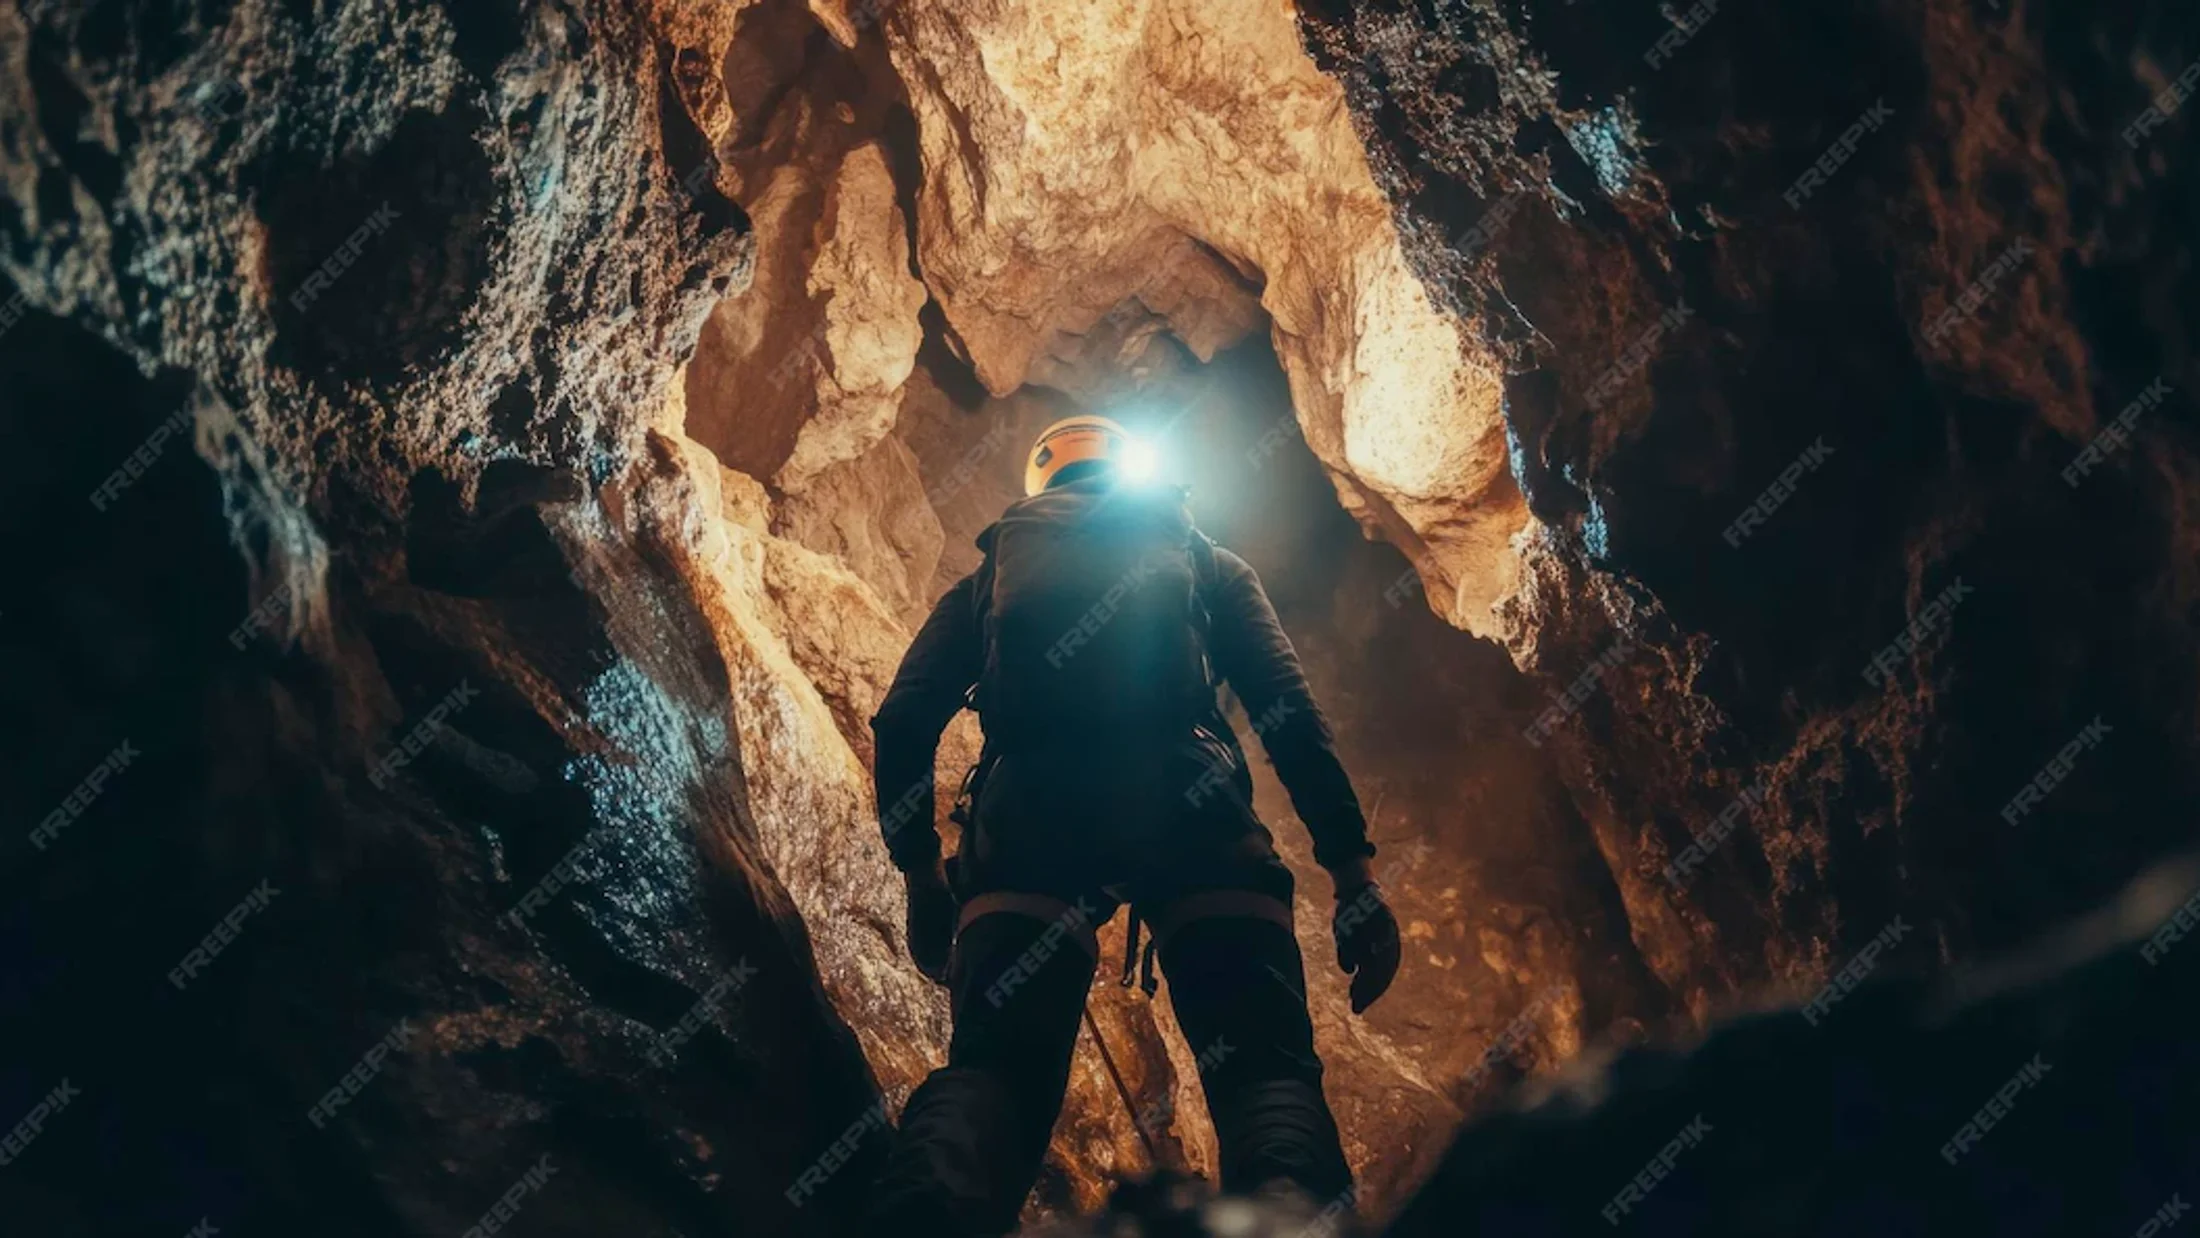
The Six Classes of Caving Difficulty, From Strolls to Sumps
Class 1: Walkable passages for easy exploration
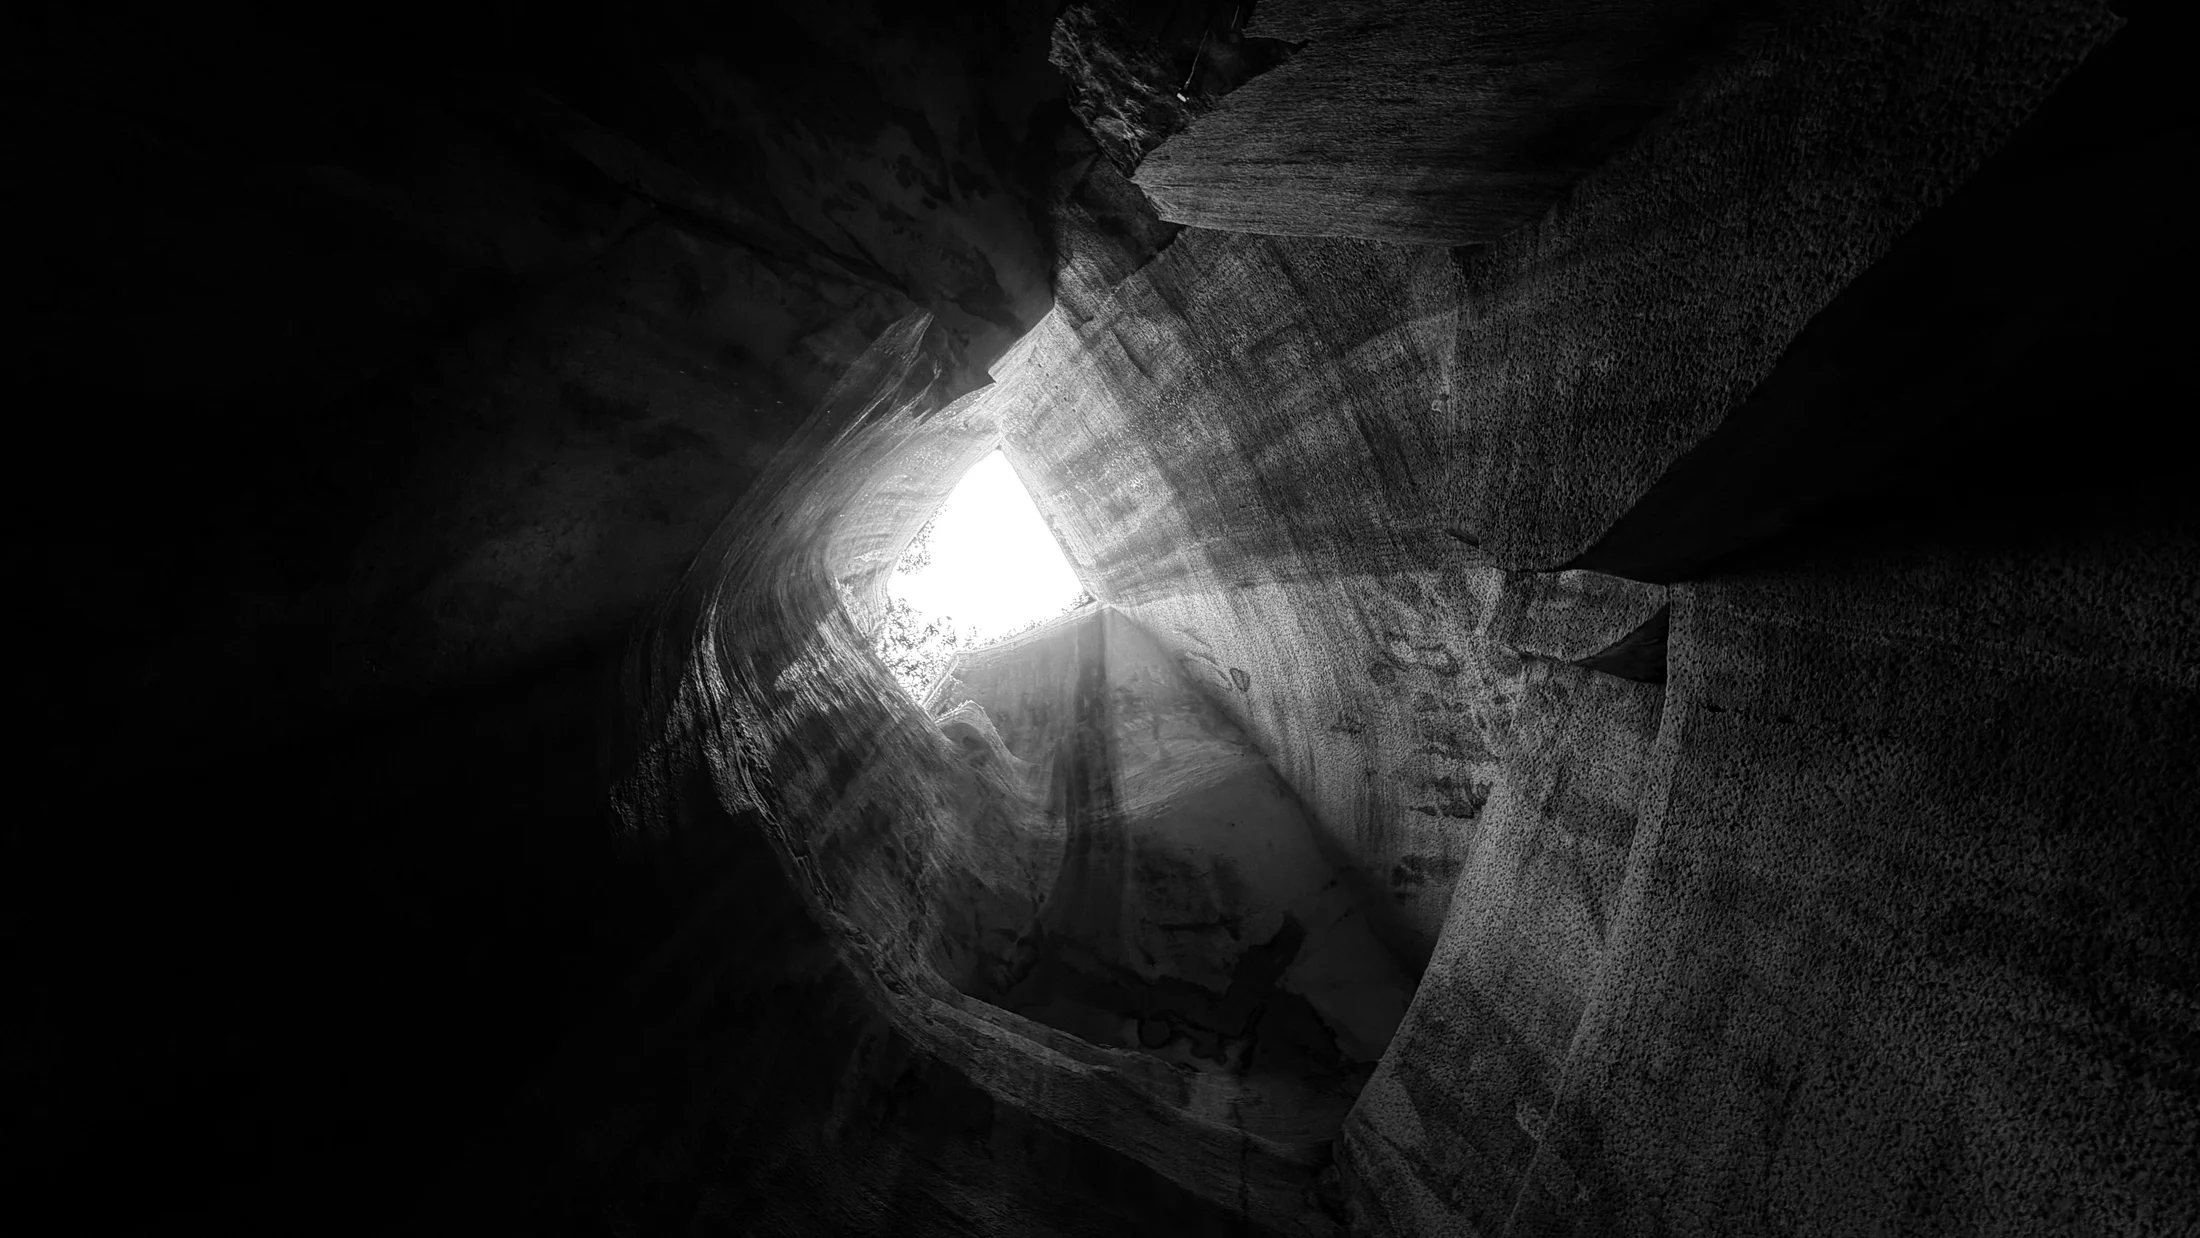
Start here if you want stress-free, short underground walks with zero rope. The caving difficulty levels begin at Class 1, with wide, mostly dry galleries, firm floors, and straightforward in-and-out navigation. Your breath sounds round off soft walls as dust motes drift in headlamp cones. Class 1 suits families, school groups, and speleology for beginners under club supervision.
- Typical features: walking-height passages, no vertical drops, minimal crawling, no sustained water exposure.
- Physical/technical demand: low; gentle walking for 30–90 minutes.
- Main risks: slips on wet clay, bumps to the head, getting turned around at a single junction.
- Equipment: certified helmet (EN12492 or EN397), headlamp plus two backups, gloves, sturdy boots, light jacket.
How to confirm Class 1: no rope or handlines required; any crawl segment is short and optional; you can reverse every move easily; simple map shows a single main gallery. Examples include guided “adventure” sections of tourist caves like Cueva de Valporquero’s easier galleries (León) or short karst shelters in Cantabria; always confirm access rules and obtain permissions.
Class 2: Routes with mild technical moves
Expect the first taste of hands-on movement with simple scrambles and short downs. You may meet a low crawl or a shallow pool, but vertical exposure stays minimal and avoidable. Cold droplets tick on your sleeves as you squeeze past a damp constriction. Class 2 is the natural step up once you have basic movement and teamwork.
- Typical features: short downclimbs up to ~3 m, easy traverses, brief crawling, shallow water to ankle/shin.
- Physical/technical demand: low–moderate; 1–3 hours underground.
- Main risks: twisted ankles, minor falls on downclimbs, getting damp and chilled, simple route-finding errors.
- Recommended equipment: helmet, headlamp with two backups, knee pads, gloves, light thermal layer, 10–15 m handline, small first-aid kit.
How to distinguish from Class 1: if you must use hands for balance or make a controlled downclimb, and water contact is likely, it’s Class 2. Practice three-point contact, spot each other on short steps, and use a handline where slick. Many clubs run beginner progression in easy side passages of Ojo Guareña (Burgos) and El Soplao (Cantabria)—always with local access guidance.
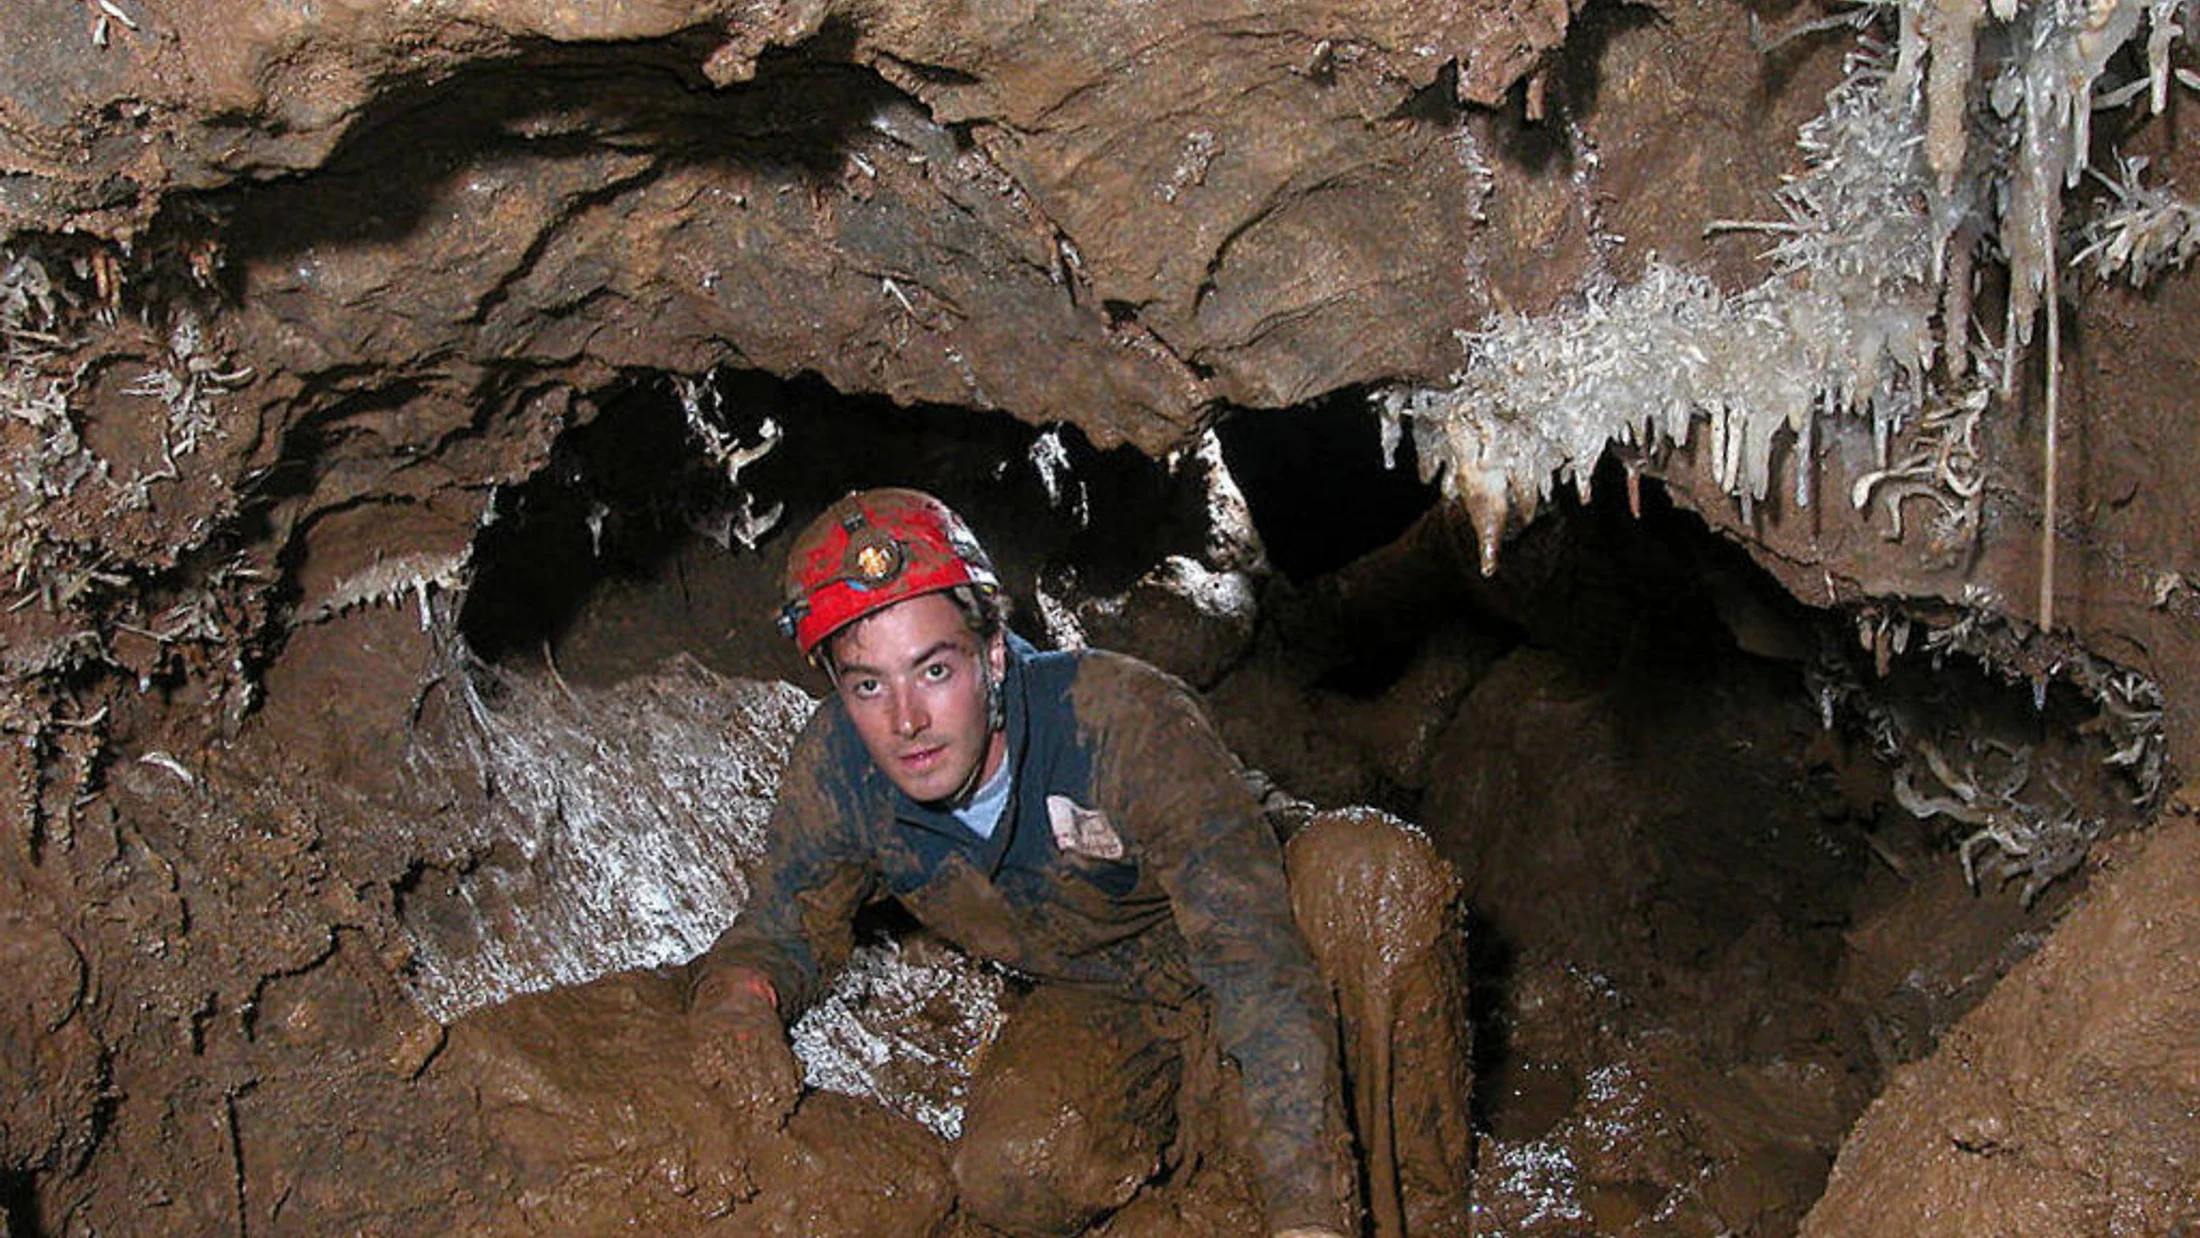
Class 3: Moderate verticals and squeezes
Here you commit to rope, knots, and tighter squeezes that require calm technique. Expect small free-hanging pitches, traverses with cowstails, and navigation that branches often. Mud presses cool against your knees as rope slides smooth through a descender. You should already be comfortable with darkness, teamwork, and steady movement.
- Typical features: pitches ~5–15 m,
SRTbasics (rappel and ascent), moderate squeezes, more complex junctions. - Physical/technical demand: moderate; 3–5 hours, carrying vertical gear.
- Main risks: rigging errors, pendulum falls on traverses, hypothermia from slow progress, losing the exit line.
- Minimum additional equipment: caving harness, descender, chest and hand ascenders,
cowstails, 2–3 slings and carabiners, two independent lighting backups, survival blanket.
Training strongly recommended: take an SRT course with your regional federation or club before attempting Class 3. Prepare plans for delays: set a hard turnaround time, pack extra batteries and food, and brief emergency communication (whistle signals, voice commands). Good practice terrain exists in small shafts in Picos de Europa and Sierra de Guara under club mentorship.
Class 4: Advanced terrain with demanding technical sections
Class 4 increases exposure with longer drops, multiple pitches, and complex rigging. You will meet rebelays, Y-hangs, traverses over voids, and sticky mud that slows progress. The air feels colder around active drips as rope hums under load at each drop. Compared with lower classes, the margin for error narrows and rescue becomes harder.
- Typical features: verticals of 30–60 m, sequences of pitches, awkward takeoffs/landings, thick mud, possible active streams.
- Physical/technical demand: high; 5–8 hours or more; significant
SRTefficiency required. - Main risks: rigging failure at anchors, exhaustion from repeated ascents, rope abrasion, chilling from spray and wet rock.
- Advanced skills: fast, safe changeovers, passing knots, deviators and
rebelays, traversing with doublecowstails, abrasion management, clear rope commands.
Before attempting Class 4, build experience on supervised trips and learn problem-solving: backing up questionable anchors, rope protection, and retreat strategy. Many multi-pitch potholes in Cantabria and Asturias fit Class 4; check access, sensitive bat roosts, and seasonal closures through local clubs.
Class 5: Caves for experienced cavers
These trips combine complex rigging, cold, water, and long hours far from the entrance. Navigation can be intricate, and underground rivers or waterfalls may set the tempo and hazards. Your breath steams briefly as spray chills fingers on metal descenders. Only consolidated teams with proven skills and conditioning should attempt Class 5.
- Typical features: deep systems with multi-kilometer traverses, active waterways, low temperatures, long crawl segments, exposed traverses.
- Physical/technical demand: very high; 8–12+ hours, heavy kits, sustained decisions.
- Main risks: fatigue-driven mistakes, hypothermia, sudden flow increases, route loss in complex mazes.
- Advanced equipment: multiple ropes with rigging plan, metalware redundancy, thermal layers and oversuit, chemical light markers, group shelter, extra food, spare ascender, cutting tool, advanced first-aid.
When to hire a guide or plan surface support: if any team member is new to the cave, if water conditions are uncertain, or if exit routes are complex. Representative areas include long through-trips in Ojo Guareña and large systems in the Sierra de Aralar and the Cantabrian karst; coordinate with federations for permits and conservation rules.
Class 6: Extreme terrain and integrated cave diving
Class 6 involves sumps, flooded galleries, and full cave diving—this is a specialist domain. You will need training in overhead diving, precise gas planning, and line discipline beyond open-water skills. The water closes cool and silent as a line arrow gleams in your beam. Mistakes underwater are unforgiving in the overhead.
- Typical features: submerged passages (sumps), long penetrations, multiple restrictions, mixed dry-wet stages, delicate sediments.
- Physical/technical demand: extreme; complex logistics, staged cylinders, team and surface support.
- Main risks: silt-outs with zero visibility, entanglement, gas management errors, decompression exposure, lost line.
- Specific equipment: redundant breathing systems (twinset or sidemount), drysuit with balanced buoyancy, primary reel and spools, guideline markers, three lights per diver, wet/dry notes, cutting tools, safety bottles as planned.
Training path: complete certified cave diving courses (e.g., TDI, IANTD, GUE, NSS-CDS) and practice progressively in controlled sites before attempting real sumps. Spain’s Pozo Azul (Burgos) and Cova des Pas de Vallgornera (Mallorca) are world-class examples—strict permits, advanced teams, and environmental care are mandatory. Never enter a sump without formal cave diver training and a practiced team.
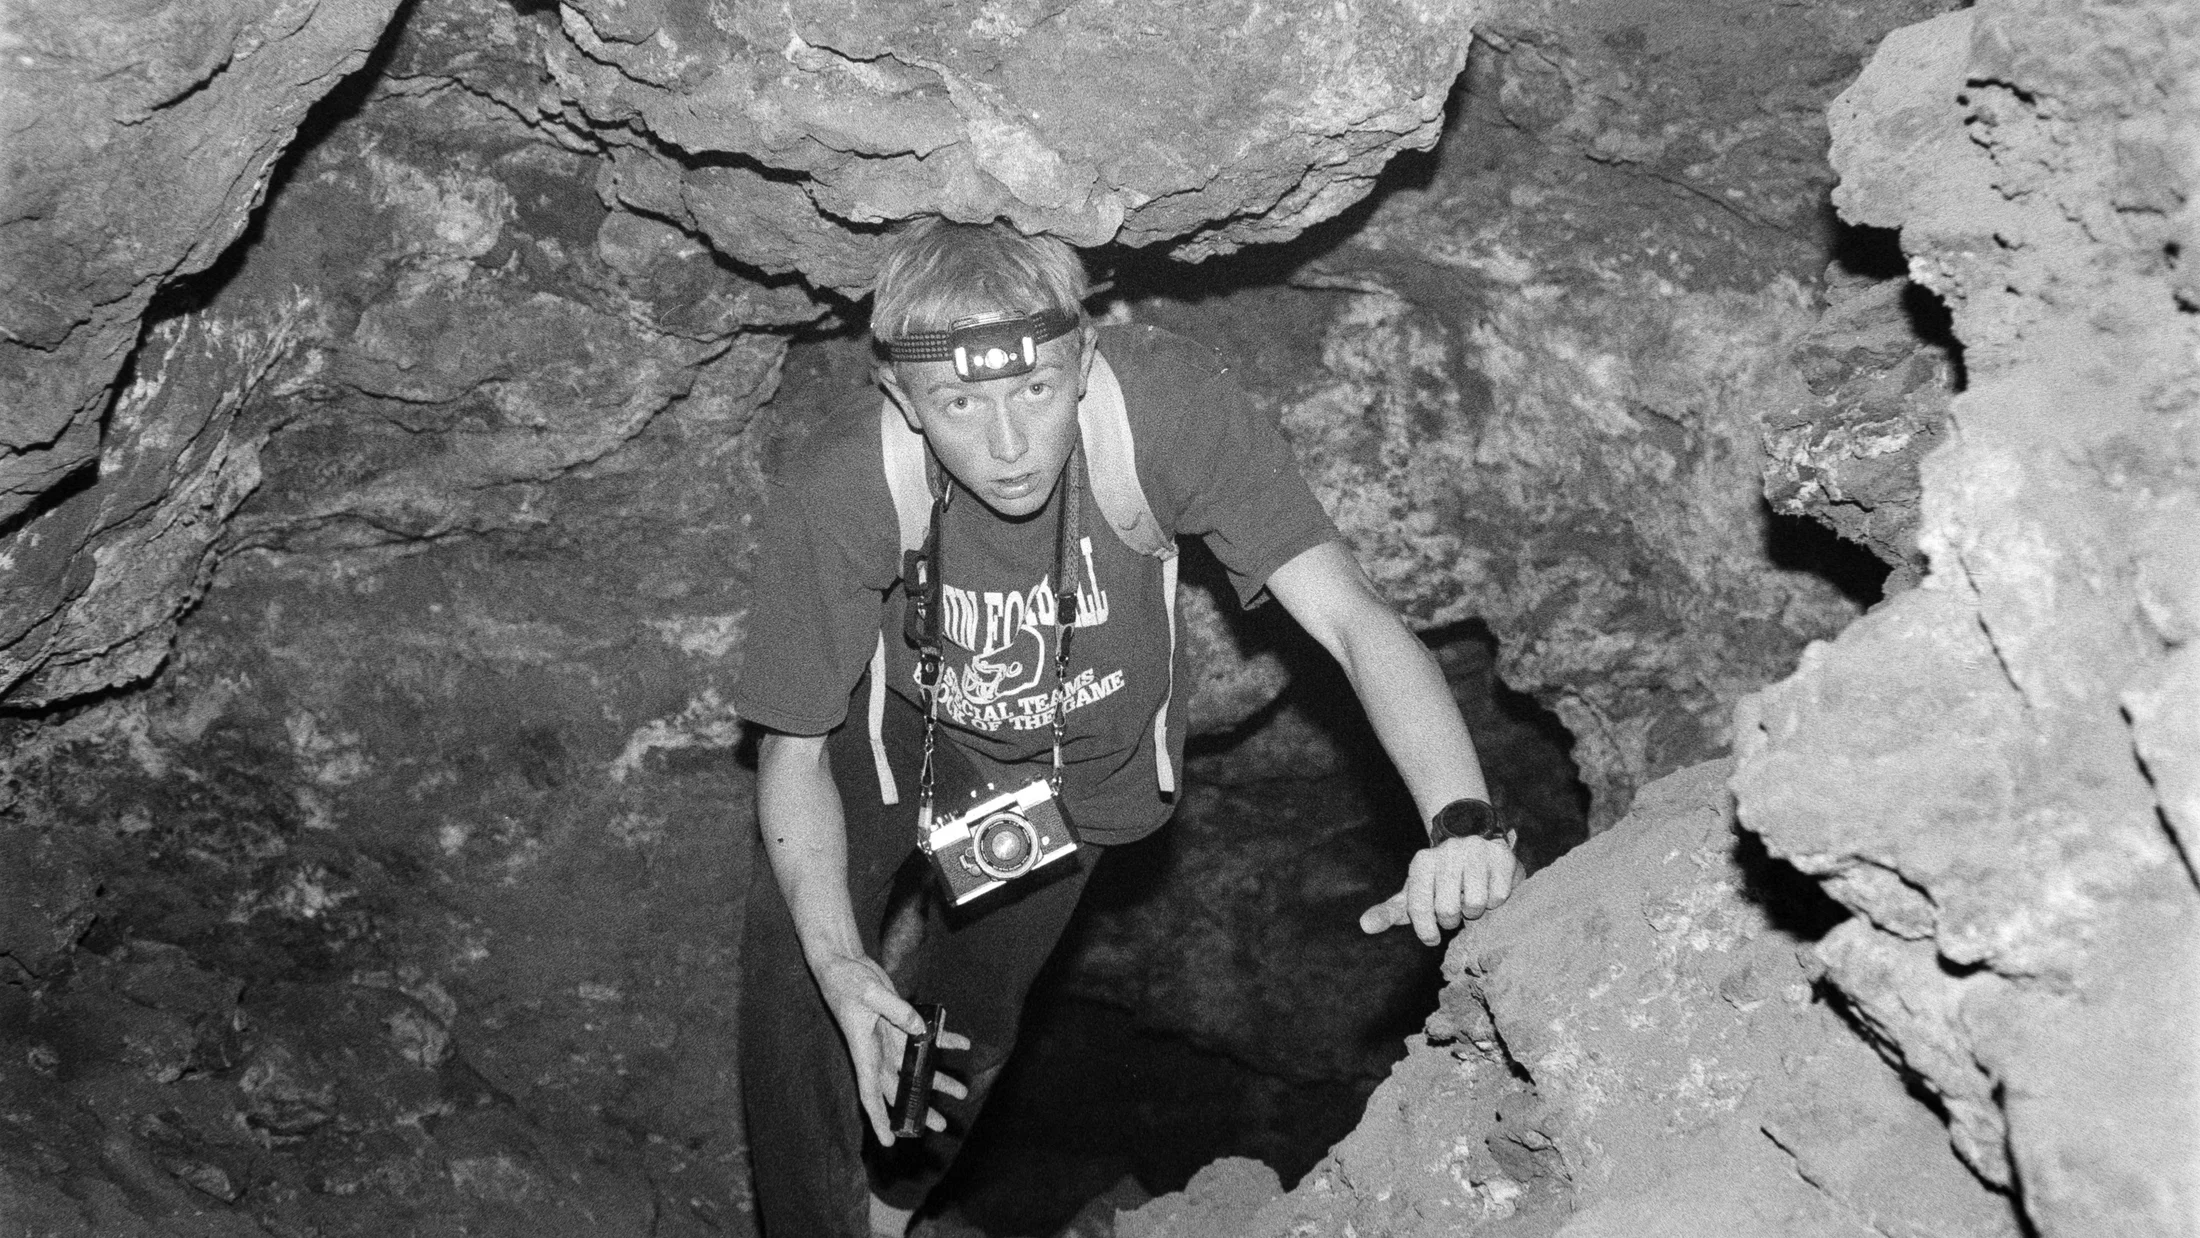
How to Progress Safely From First Steps to Cave Diving
Initiation: first steps and recommended courses
Your first goal is comfort underground: move smoothly, manage light and layers, and keep orientation. Seek beginner sessions with a local club or regional federation that include short, dry routes and clear coaching. Fine dust smells like old chalk when your boots first leave the daylight zone. Ask for speleology for beginners modules that mix classroom and simple field practice.
- Focus skills: helmet fit and lamp checks, three-point contact, spotting, reading simple cave maps and markers, basic conservation ethics.
- Essential equipment: helmet (EN12492/EN397), primary headlamp plus two backups, gloves, knee pads, base layer and light fleece, sturdy boots, small first-aid, whistle.
- Practice ideas: short walk-in caves with optional crawls; identify natural features (chambers, conduits) and practice staying on a marked route.
Book an intro course through your regional federation (Federación Española de Espeleología: fese.es) or a vetted local provider. Keep trips short, set a strict turnaround time, and debrief afterwards: what worked, what to fix, and which skills to repeat at home.
Intermediate: consolidating techniques and first verticals
Now you learn controlled rappels, smooth ascents, and safe changeovers on rope. Add simple traverses and short pitches, plus team communication and shared decision-making. Rope hums faintly as you weight the descender and ease into the drop. The aim is efficiency and calm problem-solving.
- Skills to master:
SRTbasics, knot tying (figure-8, alpine butterfly), passingrebelays, clippingcowstailscorrectly, voice/whistle commands, simple rigging checks. - Practice plan: weekly
SRTin a gym or tree, monthly short-pitch caves with mentors, drill changeovers and passing knots until “muscle memory.” - Pre-trip checklist: weather and water check, route outline and copy to a contact, kit inventory and buddy checks, hard turnaround time, roles (lead, tail, rigging).
Stretch goals: a multi-pitch day with efficient changeovers and clean rope management. Keep groups small (3–5) to maintain pace and safety. Consider a federation “Tecnificación Nivel 1–2” or similar course to standardize techniques.
Advanced: handling logistics and complex scenarios
At this stage, your challenge is systems thinking: rigging plans, time control, nutrition, group flow, and contingency. Expect longer days, colder water, and more complex choices. The chill of spray lingers in cuffs as you trace the rigging plan with a gloved finger. You should also learn basic self-rescue.
- Key competencies: advanced rigging (deviations,
Y-hangs, abrasion protection), route-finding in mazes, hypothermia prevention, accident management, self-rescue (ascending past a failed device, converting systems), hauling basics. - Logistics: gear caches, spare ropes, emergency rations, mapping and marking strategy, communication with a surface coordinator.
- Training: advanced federation courses, joint trips with highly experienced teams, scenario drills (stuck ascender, light failure, minor injury management).
Target trips include Class 4–5 systems with known rigging to apply skills under supervision. Build a culture of calm debriefs and written trip reports; small improvements in rigging and pacing pay off on long days.
Cave diving: specific training and critical considerations
Transitioning to cave diving demands formal instruction and patience. Begin with buoyancy, propulsion, and trim in a pool, then add line work and zero-visibility drills in confined water before touching real sumps. Cold water laps gently on your hood as a reel spins smooth in your hand. Only then plan short, shallow penetrations with an experienced cave diving team.
- Training pathway: cavern diver → intro to cave → full cave (TDI, IANTD, GUE, NSS-CDS), with dryland line drills between sessions.
- Equipment and protocols: redundant regulators, twinset or sidemount, drysuit, three lights, primary reel and safety spools, line arrows and cookies, gas planning (Rule of Thirds minimum), team roles and hand signals.
- Safety systems: surface support with timeline and lost-diver plan, pre-dive checks and s-drills, staged cylinders as needed, conservative penetration and depth limits.
In Spain, permits and conservation rules are strict in iconic sites like Pozo Azul and Vallgornera. Train outside the cave first, build hours under mentorship, and move slowly through the progression; overhead environments reward patience and planning.
Common Mistakes, Quick Checklists, and Your Next Steps
Small errors underground multiply quickly, so fix the frequent ones before you go. People often underestimate water, carry too little insulation, skip a second or third light, or fail to agree on roles and a turnaround time. The quiet thud of a dropped carabiner reminds you how fast focus can slip. Avoid these by slowing down planning and using checklists for caving safety.
-
Frequent mistakes to avoid:
- Entering after rain into active stream caves without local advice
- Wearing cotton layers that chill when wet
- Carrying only one light source or weak batteries
- Skipping buddy checks on harness and
cowstails - Leaving no route plan with a trusted contact
-
Pre-cave checklist (adapt to class):
- Equipment: helmet, three lights, gloves, knee pads, layers; vertical kit (
SRT) if needed; first-aid; group shelter for long trips - Admin: access permission, conservation brief, printed map or survey section, emergency contacts
- Plan: weather/water check, route and bail points, turnaround time, team roles, surface contact and callout time
- Equipment: helmet, three lights, gloves, knee pads, layers; vertical kit (
-
Next steps and resources:
- Join a local club or regional federation (Federación Española de Espeleología: fese.es)
- Read safety guidance (NSS: caves.org; British Cave Rescue Council: bcrc.org.uk; UIS: uis-speleo.org)
- For cave diving: NSS-CDS (nsscds.org), TDI (tdisdi.com), IANTD (iantd.com), GUE (gue.com)
If you want a supervised start or to refine skills in Spain, explore carefully selected local providers and training experiences on Picuco. Train, go with mentors, and step up only when your skills and judgment—not just your curiosity—say yes.