Caving for Beginners: First Steps Underground
Caving for beginners starts with a simple idea: discover the hidden landscapes beneath your feet with care and guidance. You will learn what caving is, what you need to go underground, and how to start caving safely in Spain. Picture the soft drip of water in a cool chamber as your headlamp reveals rock shaped over millennia.
What caving is, in plain words
Caving—also called speleology when focused on science—means exploring and studying natural underground cavities. If you have wondered what is caving, think of two branches: recreational exploration and scientific work that documents geology, hydrology, biology, and archaeology. In practice, most beginners join guided trips to non-technical or semi-technical caves, while researchers and trained teams map passages, measure flows, and catalog formations.
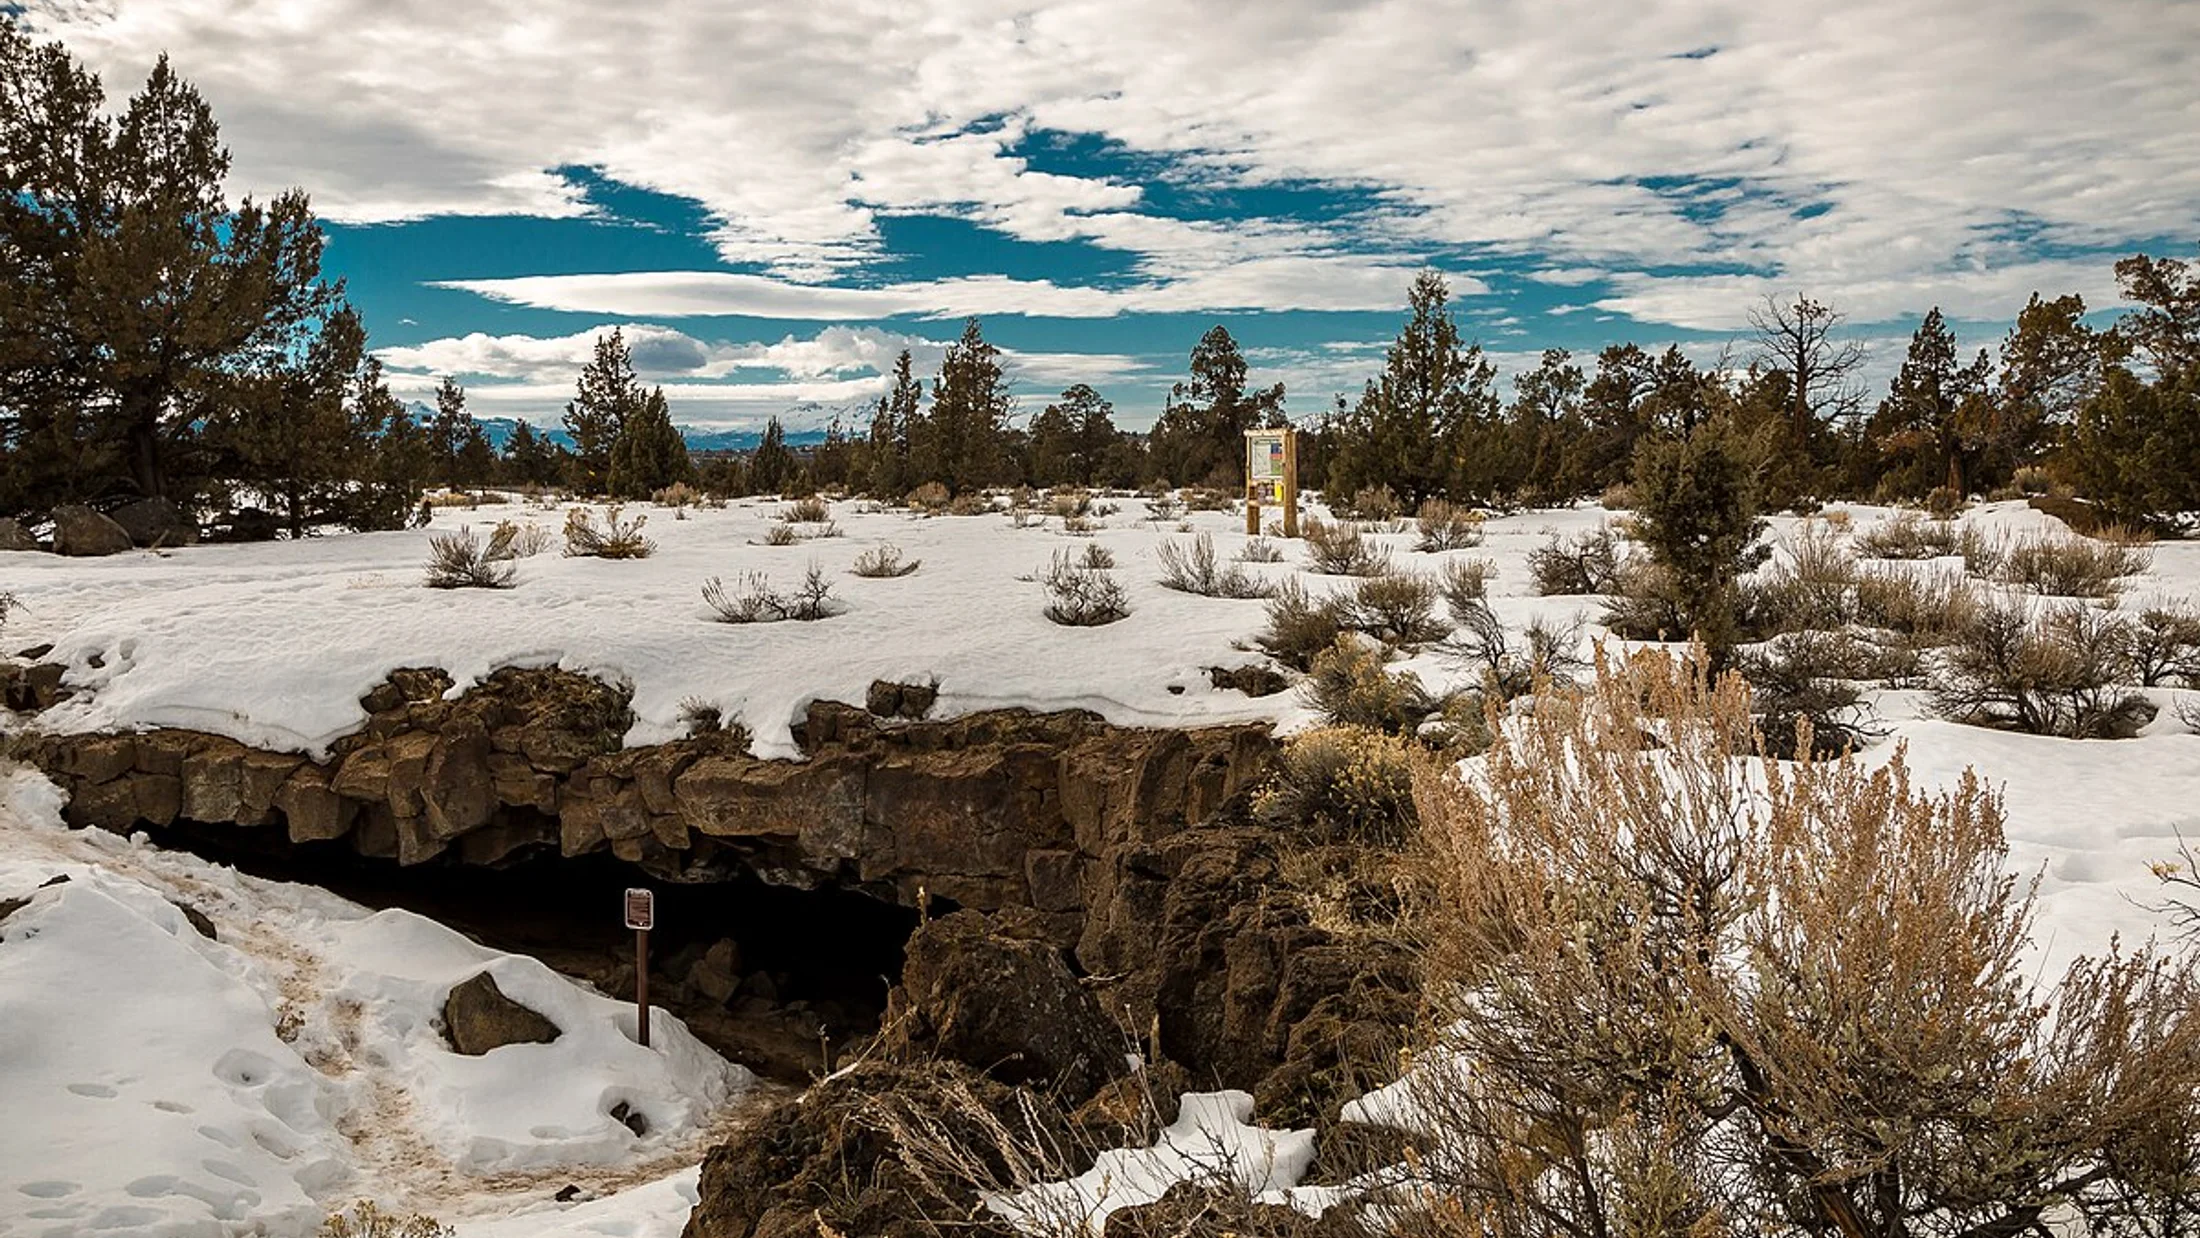
In Spain, karst regions such as Picos de Europa, Sierra de Grazalema, and parts of the Basque Country hold extensive cave systems documented by the Instituto Geológico y Minero de España (IGME-CSIC). The discipline grew from 19th–20th century explorations in Europe, with local clubs and federations systematizing training and safety. You will move at a walking pace, sometimes crawling or scrambling, always using steady, deliberate motions. Start with short, guided experiences and learn to respect cave conservation rules from the first day.
Why try it and what you will gain
Beginners choose caving for adventure, close contact with nature, and technical learning at a calm, human scale. You will build teamwork, situational awareness, and navigation skills as you follow a route marker or the voice of your guide. Expect fitness gains from controlled effort, not speed; patience and good footwork beat strength. For espeleología para principiantes—caving for beginners—you should aim for realistic goals: short duration, simple terrain, and expert supervision. If you want a first taste without buying gear, look for beginner cave tours in Spain offered by local clubs and licensed providers.
Picuco te puede ayudar
Does something here catch your eye?
Tell us.
Write to us on WhatsApp or email: we answer questions, find the best options and help you sort out the booking.
Underground Basics: Rock, Water, and the Caves You Will Meet
Before you step inside, a few concepts help you read the cave like a map. Most Spanish caves form in limestone karst, where slightly acidic water dissolves rock along fractures and bedding planes over thousands to millions of years (IGME-CSIC). Stalactites hang from ceilings as calcite deposits build downward, while stalagmites rise from the floor; when they meet, they form columns. Flowstones look like frozen waterfalls; helictites twist oddly due to capillary forces and wind in micro-channels. These formations are fragile and grow slowly—often millimeters per century—so no-touch ethics protect them for future visitors.
Not all caves are the same, and type shapes difficulty. Karst caves (dissolution caves) range from easy, dry galleries to complex systems with vertical shafts and underground rivers. Lava tubes in volcanic terrain, like those in the Canary Islands, are often long, linear conduits with relatively uniform floors formed by flowing basaltic lava. Sea caves carve into coastal cliffs by wave action; they can be simple but carry flood and swell risks. Mines and artificial tunnels add their own hazards—unstable timbers, bad air, and legal restrictions—so they are a no-go without explicit permission and specialist supervision.
Conditions underground differ from the surface. Temperatures in mid-latitude caves tend to approximate the average annual surface temperature, often 10–15°C in many Spanish regions, and humidity stays high near 100%. That steady coolness is pleasant when you move, but it can chill you at rest; plan layers accordingly. Floors can be slick with clay or polished rock, and passages narrow or low. Water shapes both route choice and timing, as small streams can become impassable after heavy rain. Difficulty increases with verticality (pitches requiring rope), tight squeezes, and complex junctions that challenge orientation. New cavers reduce risk by choosing beginner routes that avoid rope work and flood-prone sections and by going with trained leaders.
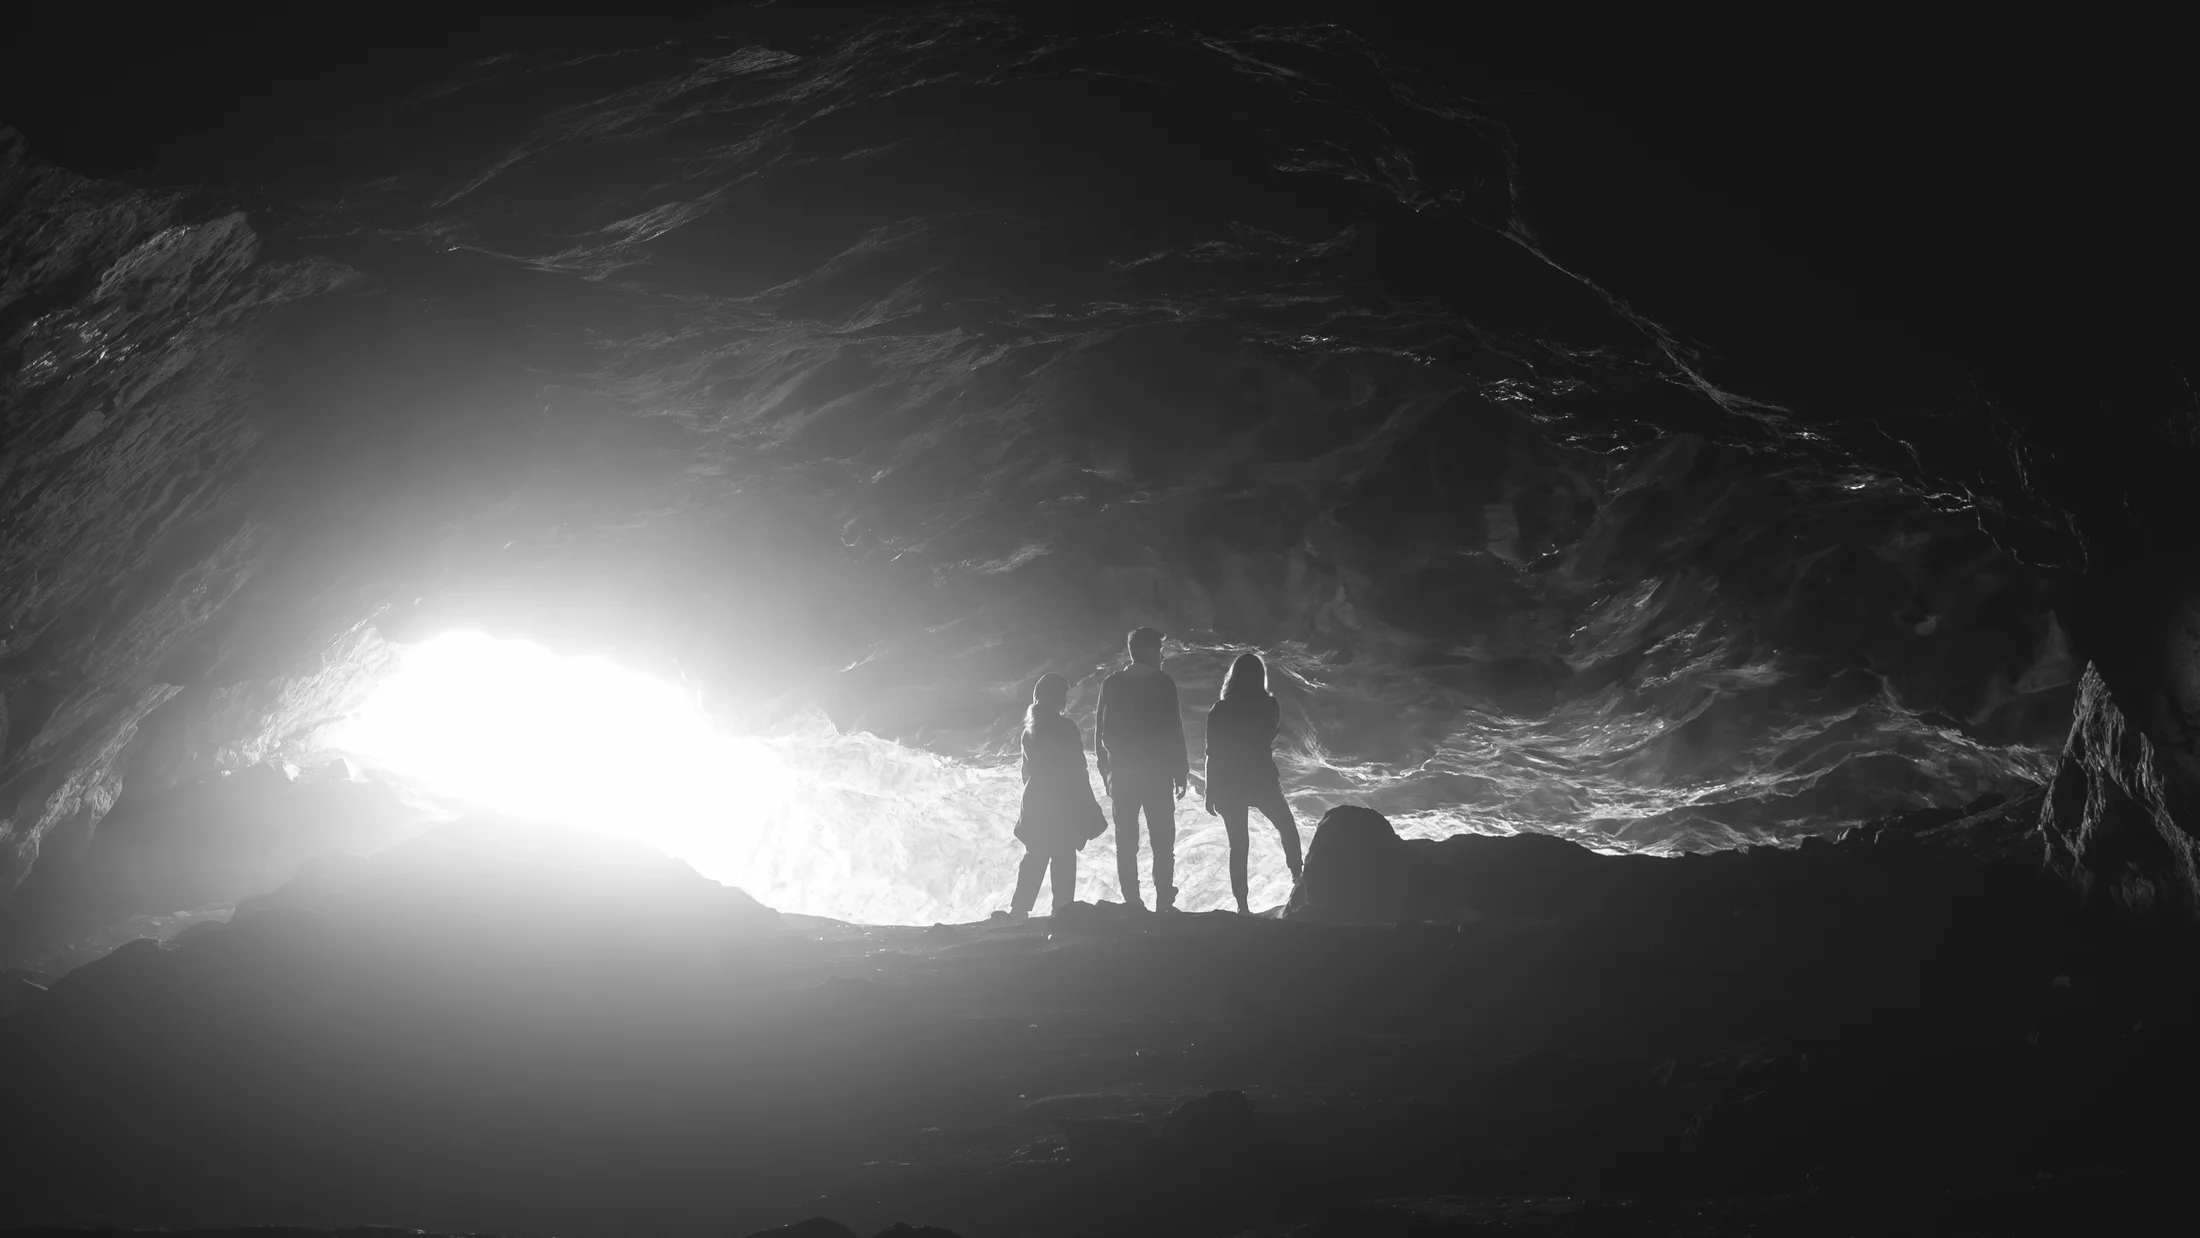
Finally, lighting defines the experience and your safety margin. In darkness that is absolute, you rely on redundancy: multiple lights, fresh batteries, and simple, robust switches. Keep your movements quiet and economical; you will hear the cave—drips, distant flow, your breath—and learn to read it like a steady metronome.
Risks You Can Manage and Rules That Keep You Safe
Main risks and how to reduce them
Good caving safety comes from understanding specific risks and planning around them. Falls happen when feet slip on wet calcite or mud, or when you step into unseen holes; move slowly, keep three points of contact, and test holds before shifting weight. Hypothermia develops in cool, wet environments when you stop moving, so bring insulating layers and keep a dry backup top in a sealed bag. Disorientation occurs in complex passages; carry a simple sketch map for the route, mark notable junctions with mental cues, and stay within sight and voice of your leader.
Flooding is a serious hazard in active stream caves; signs include rising water, louder flow, and debris lines on walls. In Spain, check AEMET weather advisories before you go and avoid caves during or after heavy rain. Rockfall is rare in popular beginner routes but possible in unstable ceilings or breakdown piles; wear a helmet at all times and avoid lingering under obvious loose blocks. Equipment issues—dead headlamps, low batteries, broken straps—are common beginner problems; the National Speleological Society (NSS) advises carrying three independent light sources and fresh batteries as standard practice.
One image guides your judgment: the air cools against your cheeks while your beam turns a glossy floor to glass, reminding you to place each step like a quiet handshake.
Basic rules and how to avoid common mistakes
- Never go alone: join a club, hire a licensed guide, or join a supervised group of three or more.
- Tell a surface contact: leave a written plan with cave name, route, group members, entry time, and latest exit time.
- Check weather and water conditions: postpone if rain is forecast or rivers run high.
- Bring three lights per person: one primary headlamp and two backups, with spare batteries.
- Wear a helmet with a secure chinstrap and non-cotton layers; cotton chills when wet.
- Follow conservation rules: do not touch formations, avoid muddying clear pools, and stay on established routes.
- Pace and communicate: agree on signals, regroup at junctions, and keep line-of-sight.
Common beginner mistakes include overpacking heavy gear, wearing cotton, rushing over slick rock, and leaving no trip plan. Correct them by packing light, synthetic or wool layers, deliberate footwork, and a written plan left with someone who will call for help if you are late. Hands-on instruction shortens the learning curve—ask your guide to explain each decision, and repeat the safety checks yourself.
Practical tip
The NSS “rule of three lights” and group travel norms exist for a reason: in zero natural light, a single failure can end a trip, while redundancy turns a problem into a manageable pause.
Caving Equipment Basics: What You Really Need First
Beginners do best with simple, robust gear that prioritizes visibility, head protection, traction, and warmth. You can rent from local providers or clubs for first outings, then buy once you know your size and preferences. Handle, clean, and dry everything after trips; mud and moisture shorten the life of fabrics, batteries, and buckles.
Lighting, helmet, and attachment systems
Light is life underground, so build in redundancy. Use a reliable primary headlamp with regulated output for steady brightness, plus two backups (a compact headlamp and a small handheld). Favor models with at least medium output modes for walking, a long-lasting low mode for emergencies, and an IPX water-resistance rating. Pack fresh batteries or a fully charged power source, and protect spares inside a sealed bag; cold and moisture sap runtime.
Your helmet should have a secure chinstrap and meet recognized standards such as EN 12492 (mountaineering) or EN 397 (industrial), as referenced by UIAA Safety guidance. A simple caving-compatible helmet with frontal clips or a mount keeps the lamp steady and hands free. For easy, non-vertical beginner trips, you may only need a short safety tether for exposed traverses under a guide’s instruction; for any rope work, use low-stretch (“semi-static”) rope meeting EN 1891, a proper caving harness, and approved connectors, and learn under supervision before attempting vertical sections.
One image to check your setup: the warm cone of your lamp cuts through moist air like a pocket sunrise, steady and quiet.
Clothing, footwear, and personal protection
Dress in layers that keep you warm when damp and breathe when you work. Use a wicking base layer (merino or synthetic) against the skin, a mid-layer fleece for insulation, and an outer suit that resists abrasion; many beginners use a durable oversuit for mud and rock. Skip cotton; it chills when wet and dries slowly. In wet caves or rivers, consider thin neoprene socks or a shorty layer under the oversuit to blunt the cold.
Footwear must grip on polished rock and clay. Rubber boots with aggressive tread work well in wet conditions; sticky approach shoes or lightweight boots suit dry, rocky passages. Add gloves to protect skin—thin, grippy work gloves for feel, optionally with a warmer liner—and knee pads for comfort during crawls. A lightweight beanie under the helmet helps conserve heat, and safety glasses can protect eyes from drips and low ceilings. Fit and comfort beat fancy features; try gear in motion and practice squats, crawls, and step-ups to confirm nothing pinches or snags.
Step-by-step Preparation for Your First Descent
A successful first outing blends a simple route, a reliable group, and deliberate preparation. Keep your plan modest, your timing conservative, and your focus on learning, not distance. The cool air at the entrance will feel like opening a fridge on a summer day—bracing, clean, and steady.
Planning: choose the cave, permissions, and communication
Start close to home or where beginner infrastructure exists. Choose a cave that local clubs classify as easy: no vertical pitches, straightforward navigation, and a short duration. In Spain, some show caves offer “adventure” routes for novices, with guides, helmets, and suits provided; these are ideal for the first taste. How to start caving without confusion? Join a trip run by a club or licensed provider and ask for a beginner itinerary.
Check access status. Many caves sit in protected landscapes or on private land; follow posted rules and obtain permits if required. When in doubt, contact the regional speleology federation or park authority for guidance. Leave a written plan with a responsible contact: cave name, entry point, intended route, group members, expected entry and exit times, and a clear instruction on when to call for help if you are late. Bring basic ID and, where coverage exists, a charged phone in a sealed pouch; do not rely on signal underground.
Training, practice, and pre-trip checks
Build general fitness: brisk walks, stair climbs, and mobility work for hips and shoulders help with crawling and stemming. Practice balance and footwork on uneven ground; learn to place feet quietly and test holds. If your route involves fixed ropes or handlines, rehearse basic techniques on the surface with an instructor before you go.
Do a caving checklist the day before. Confirm you feel well, check weather alerts from AEMET, charge all lights, and pack spare batteries in sealed bags. Label your gear so nothing gets mixed in the group. If you wear prescription glasses, secure them with a strap and carry a microfiber cloth in a pocket. Ask your leader to review the plan, hand signals, and emergency steps; repetition turns stress into routine.
Important
If rain is forecast or rivers run high, postpone. Flashy catchments can flood caves faster than expected; local guides and federations across Spain emphasize weather checks as a non-negotiable step.
Practical Checklists You Can Use Before You Go
A good checklist lightens your mental load and catches small oversights. Pack deliberately, keep items grouped in sealed bags, and aim for a compact load that you can move easily in narrow passages. The light scent of damp rock on your gloves will remind you to keep things tidy and dry inside your pack.
1.Checklist: Essential equipment (helmet, lights, clothing, footwear)
Use this caving checklist to cover caving equipment basics for a first, non-vertical trip:
- Helmet with chinstrap:
- Certified to
EN 12492orEN 397. - Headlamp mount or clips secure and aligned.
- Certified to
- Lighting (three sources per person):
- Primary headlamp with regulated output and medium/low modes.
- Backup headlamp (compact) and small handheld or keychain light.
- Spare batteries or power bank in a sealed bag; test all lights the night before.
- Clothing layers (no cotton):
- Wicking base layer (merino or synthetic).
- Warm mid-layer (fleece or similar).
- Abrasion-resistant oversuit or outer shell.
- Thin beanie for heat; optional light buff.
- Footwear:
- Rubber boots with tread for wet caves, or sticky approach shoes for dry rock.
- Wool or synthetic socks; optional neoprene socks for cold water.
- Personal protection:
- Gloves with grip; optional liner gloves for warmth.
- Knee pads; optional light elbow pads.
- Safety glasses if ceilings are low or drippy.
- Essentials to carry on you:
- ID, small whistle, and a simple analog watch.
- Small microfiber cloth (for glasses/visor) in a pocket.
Notes:
- Rent before you buy if uncertain about sizes.
- Test movement: squat, crawl, and reach while geared up.
2.Checklist: Personal daypack and spares (batteries, tools, food)
Pack a small, low-profile bag that will not snag. Keep heavy items close to your back and seal moisture-sensitive items.
- Lights and power:
- Fresh batteries for all three lights, labeled and bagged.
- Power bank and short cable (if your lamp accepts rechargeable cells).
- Navigation and info:
- Simple route sketch and cave name on a small waterproof card.
- Pencil (writes on damp paper) and tiny notepad.
- Tools and fixes:
- Small knife or multitool.
- 2–3 meters of 5–6 mm accessory cord and a short roll of tape for temporary fixes.
- A few zip ties and a spare headlamp strap or elastic.
- Warmth and health:
- Compact foil blanket or small emergency bivvy.
- Plasters, blister pads, and a few pain relievers in a mini first-aid pouch.
- Spare dry top in a sealed bag for breaks or exit.
- Food and water:
- 1–1.5 liters of water in sturdy bottles (no noisy bladders if they snag).
- Compact, high-energy snacks (nuts, bars, dried fruit) in resealable bags.
- Waterproofing and order:
- Two sealed bags: one for electrics, one for spare clothing.
- Trash bag to pack out all waste.
Packing tips for beginners:
- Keep total carried weight modest; if your route is short, you do not need expedition gear.
- Group items into color-coded or labeled bags so you can find them in low light.
3.Checklist: Safety, communication, and planning (contacts, routes, emergencies)
Turn best practices into steps you repeat every time:
- Trip plan left with a surface contact:
- Cave name, entry point, intended route/turnaround point.
- Group list with phone numbers.
- Entry time and latest exit time; clear trigger to call for help if overdue.
- Group protocol agreed before entry:
- Lead and sweep roles assigned.
- Hand/voice signals set for stop, go, regroup, and emergency.
- Regroup at every junction; no one moves beyond the next corner alone.
- Weather and water checks:
- AEMET alerts reviewed on the trip day and the night before.
- Local advice sought on flood risk for the chosen cave.
- Equipment checks at the entrance:
- Helmet straps snug; lamps tested on all modes.
- Spare batteries sealed; pockets closed; laces tucked.
- First aid and emergency foil blanket accessible.
- Emergency plan rehearsed:
- Nearest exit or turnaround point identified.
- Basic steps if light fails: stop, regroup, deploy backup, communicate.
- If someone is injured: protect from cold, assess, and send two capable teammates to raise help if required (never leave one person alone).
Keep the plan simple and written. A calm, repeatable routine reduces errors when the cave is quiet and your world is the circle of light ahead.
Next Moves: Learn With Others and Find Beginner Tours in Spain
You now know the fundamentals: what caving is, the terrain you may see, the risks, and the caving equipment basics. The next step is to learn systematically with people who know the local caves and standards. In Spain, the Federación Española de Espeleología (FEE) coordinates training and clubs across regions, and regional federations—Andalucía, Castilla y León, Cantabria, Catalunya, Euskadi, Madrid, Navarra, and others—run introductory courses and supervised trips. The UIAA Safety resources can deepen your gear understanding, while IGME-CSIC materials illuminate geology and hydrology.
If you prefer a guided start, several show caves offer beginner cave tours Spain wide, often called adventure or speleo routes. Examples include Cueva de Valporquero (León) with supervised aquatic passages, El Soplao (Cantabria) with an adventure route off the tourist path, Mendukilo (Navarra) with special visits, Arrikrutz (Gipuzkoa) with varied thematic tours, Cueva de Nerja (Málaga) for impressive chambers on foot, and Coves de Sant Josep (Vall d’Uixó, Castellón) by boat on an underground river. Always consult official websites for up-to-date schedules, age limits, required fitness, and what gear is provided.
Learn progressively. Start with dry, non-technical trips; practice movement, communication, and conservation habits; then add complexity with a club course that introduces rope systems under controlled conditions. Books such as Cave Geology by Arthur N. Palmer explain the underground in clear language, and club libraries often lend copies. As you build experience, keep your respect for the cave intact; remember that volunteers and local communities maintain paths, access, and rescue readiness.
When you are ready to plan a first outing, join a local club or book a supervised tour, and keep safety routines non-negotiable. If you want curated options, discover carefully selected beginner cave tours in Spain on Picuco and take your first steps underground with clarity and confidence. The cave’s cool breath will be there, steady and patient, whenever you are prepared to meet it.