Why Learning to Read Mountain Clouds Keeps You Safe
A quick look at mountain clouds can save a day—and sometimes much more. When you know how to read the sky, you make better calls about whether to ascend, wait, or descend, which directly affects safety, timing, and comfort. We will not turn you into a forecaster, but you will leave with practical tools to spot cloud signals of mountain weather while hiking and to decide to ascend or descend with calm confidence. Picture the sun catching a ragged edge of cloud above a ridge, the light turning silver just before the breeze shifts.
Here’s the scope. This is a field guide for reading clouds hiking, meant for walkers, scramblers, climbers, and family hikers who want clear, usable rules. You will learn how terrain shapes clouds, how instability builds storm clouds mountain-wide, and how specific cloud types hint at what’s coming in the next 15 minutes or the next few hours. You will find simple criteria to act on now, with decision examples for typical routes and ridges.
We will first anchor the basics—what humidity, lapse rate, and orography mean in plain language. Then we will break down the types of mountain clouds that matter most: cirrus, cumulus, nimbostratus, cumulonimbus, lenticulars, and low stratus or fog. You will learn to spot appearances, altitudes, evolution patterns, and concrete go/no-go cues. One brief image per section keeps your senses tuned, while facts and numbers keep your decisions sharp.
Finally, you will get a step-by-step routine you can memorize, a list of fast warning signs, a compact checklist, and four mini-cases to test your judgment. Always combine what you see with official forecasts, weather apps, and local station data; eyeballs plus data beat either one alone. In Spain, national and regional services like AEMET and Meteocat publish reliable mountain bulletins; the World Meteorological Organization (WMO) and NOAA share cloud classification references. Before you shoulder the pack, check those; on the trail, watch the sky and compare it to your plan.
Picuco te puede ayudar
Does something here catch your eye?
Tell us.
Write to us on WhatsApp or email: we answer questions, find the best options and help you sort out the booking.
The Weather Basics You Actually Need in the Mountains
Mountains push air upward, and upward motion makes clouds. This is the orographic effect: wind hits a slope, rises, cools, and condenses moisture into cloud droplets, often right over ridgelines. If the air is moist and unstable—prone to rising on its own—clouds build faster and taller. Imagine the wind brushing the hillside grass like a hand ruffling fur, nudging air into the sky.
You only need a few concepts. Relative humidity is how full of water vapor the air is compared to its maximum at that temperature; near 100% means fog, drizzle, or cloud at your elevation. The dew point is the temperature at which the air becomes saturated; when air rises and cools to its dew point, clouds form. Knowing both helps you guess cloud base: if the surface temperature is close to the dew point, expect low clouds or fog in valleys.
Temperature changes with height in a predictable way called the lapse rate. As a rule of thumb, air cools about 6.5°C per 1,000 m in the free atmosphere, but dry rising air cools faster, about 9.8°C/km (dry adiabatic), and moist rising air cools slower, roughly 5–6°C/km (moist adiabatic). These numbers explain why afternoon cumulus towers rise quickly in unstable air and why a slight drop in valley temperature can force cloud down onto a pass. Knowing the lapse rate helps you forecast when a clear col at 1,800 m may sit in cloud two hours later.
Winds differ with height and terrain. Valley winds are often upslope by day and downslope by night; ridge winds reveal the true flow aloft. Strong wind over a ridge can make lenticular clouds and severe gusts on crests while valleys stay calm. When reading cloud signals mountain weather patterns, always relate cloud shape and motion to the wind you feel and the ridge lines you see. For decisions, tie concepts to outcomes: fast-growing vertical clouds and falling pressure mean shorten the plan; uniform gray layers and low ceilings mean avoid technical ground; strong crest winds mean dodge exposed arêtes.
Cloud Types That Matter Most in the Hills
Cirrus: high, fibrous hints of change
Cirrus are thin, hairlike streaks high in the sky, often above 6–7 km, made of ice crystals. They look like wisps or mare’s tails and usually do not cast much shade. A single, delicate line can be the first clue that moisture and a distant front are moving in. Think of them as writing on the faraway horizon, the script faint but legible.
For reading clouds hiking, cirrus often mean a warm front several hours away or moisture advection from the west or southwest. If they stay thin and sparse, you can usually continue your plan while monitoring. If they thicken rapidly, spread into a veil (cirrostratus), and you start to see a halo around the sun or moon, expect clouds to lower into middle levels within 6–12 hours. In mountains, that descent can happen faster as terrain lifts the air. If you are debating a long ridge, note the trend: thin wisps at breakfast may become a milky sky by noon, a sign to shorten objectives.
Action cues:
- Continue if cirrus are sparse and not thickening over 1–2 hours.
- Prepare to adjust if the veil spreads and the sun loses sharpness.
- If mid-level clouds (altostratus) arrive quickly with lowering ceilings, set a safe turnaround time now.
Cumulus: friendly puffs that can turn serious
Cumulus come in many sizes. Cumulus humilis are small, cotton-like puffs with flat bases and modest vertical growth; they often mark fair weather. Cumulus mediocris are taller and show growing enthusiasm; cumulus congestus tower with cauliflower tops and darkening bases, a launchpad for storms. By late morning on sunny days, thermals—the warm bubbles rising from sunlit slopes—seed these clouds. Like smoke from small campfires turning into a busy column, they reveal rising air.
Watch for signs of change. If tops flatten into anvils or the base darkens and widens, growth is rapid. Shade on slopes can kill thermals, but in unstable setups, congestus keep building after noon and may merge into cumulonimbus. In summer ranges across Spain, congestus often become storm clouds mountain-wide between 14:00 and 17:00, especially over broad plateaus that feed heat and moisture to nearby peaks.
Action cues:
- Continue if cumulus stay small and dissolve by late afternoon.
- Pause and reassess if congestus build quickly for 30–60 minutes; note wind shift and temperature drops.
- If towers merge and bases turn very dark, set a conservative turnaround or descend to avoid exposed terrain.
Nimbostratus: uniform gray and long rain
Nimbostratus form a thick, uniform gray sheet that brings steady, widespread precipitation, often lasting for hours. They obscure peaks, flatten the light, and reduce visibility to a murky mid-distance. Under a nimbostratus deck, the world feels muffled, like hiking inside a quiet, damp tent.
In mountains, nimbostratus means wet trails, slippery rock, and higher hypothermia risk, especially with wind. Navigation gets harder as landmarks vanish in low cloud and drizzle. Rainfall rates can be light to moderate but persistent; snow is possible at higher elevations if the freezing level drops. These clouds usually come from large-scale frontal systems and are well signposted by forecasts (AEMET bulletins and regional agencies are reliable). They do not tend to erupt into thunder, but embedded cells can deliver heavier bursts.
Action cues:
- Avoid committing to long ascents or technical ridges; choose valley routes or forest cover.
- If already high, descend to safer, less exposed terrain with clear exit options.
- Confirm against official forecasts; if coverage is valley-wide and persistent, replan rather than wait it out on a pass.
Cumulonimbus: the storm engine you must avoid
Cumulonimbus are the kings of vertical growth: massive towers with dark, boiling bases and a classic anvil top spreading downwind near the tropopause (10–12 km in mid-latitudes). They bring lightning, hail, torrential rain, sudden wind gusts, and dangerous microbursts. In the mountains, cumulonimbus hiking hazards multiply because ridges and summits make you the highest point. The first cold drop and the hair-on-neck breeze feel like a switch flipping before the crash of thunder.
Look for precursors. Rapidly growing cumulus congestus, flattening tops forming a nascent anvil, and swift darkening over a short window (30–60 minutes) are your early warnings. A low, ragged shelf cloud or a bulging wall of darkness advancing with gusts means squall arrival is minutes away. The Spanish phrase “cumulonimbo montaña” appears in local bulletins for a reason: exposure on crests or via ferratas becomes life-threatening with lightning.
Action cues:
- If you see anvil-topped towers within 10–20 km, turn around or reroute below treeline immediately.
- If thunder is audible—no matter how faint—descend; use the 30/30 rule: if the time between flash and thunder is under 30 seconds, you are within 10 km, and you should seek safe shelter for at least 30 minutes after the last thunder.
- Avoid isolated high points, metal equipment on summits, and wet gullies prone to flash floods.
Lenticular clouds: wind sculpted and warning of severe gusts
Lenticular clouds look like smooth, lens-shaped stacks or flying saucers parked above ridges or on the lee side of mountain chains. They often appear stationary while air roars through, forming standing waves downwind. These waves (orographic gravity waves) mean strong winds at crest level and significant turbulence aloft. A flawless satin edge, bright and curved, can look serene even as it signals a battering on the ridge.
For hikers, lenticular clouds warn of severe gusts, rotor zones, and wind acceleration in passes. Even if valleys feel calm, expect hard-to-stand-up winds on arêtes and cols, with sudden, colder blasts. Pilots and paragliders treat lenticulars as turbulence flags; hikers should, too. You may also see cap clouds hugging a summit—moist air condenses at the peak and evaporates as it descends—another sign of strong flow over the top.
Action cues:
- If lenticulars line up in trains leeward of ridges, avoid exposed crests and plan safer traverses below.
- Double-check wind forecasts at 1,500–3,000 m levels; strong 700 hPa winds often match these signatures.
- Secure hats and loose items; consider trekking poles and alternative routes in forests or sheltered flanks.
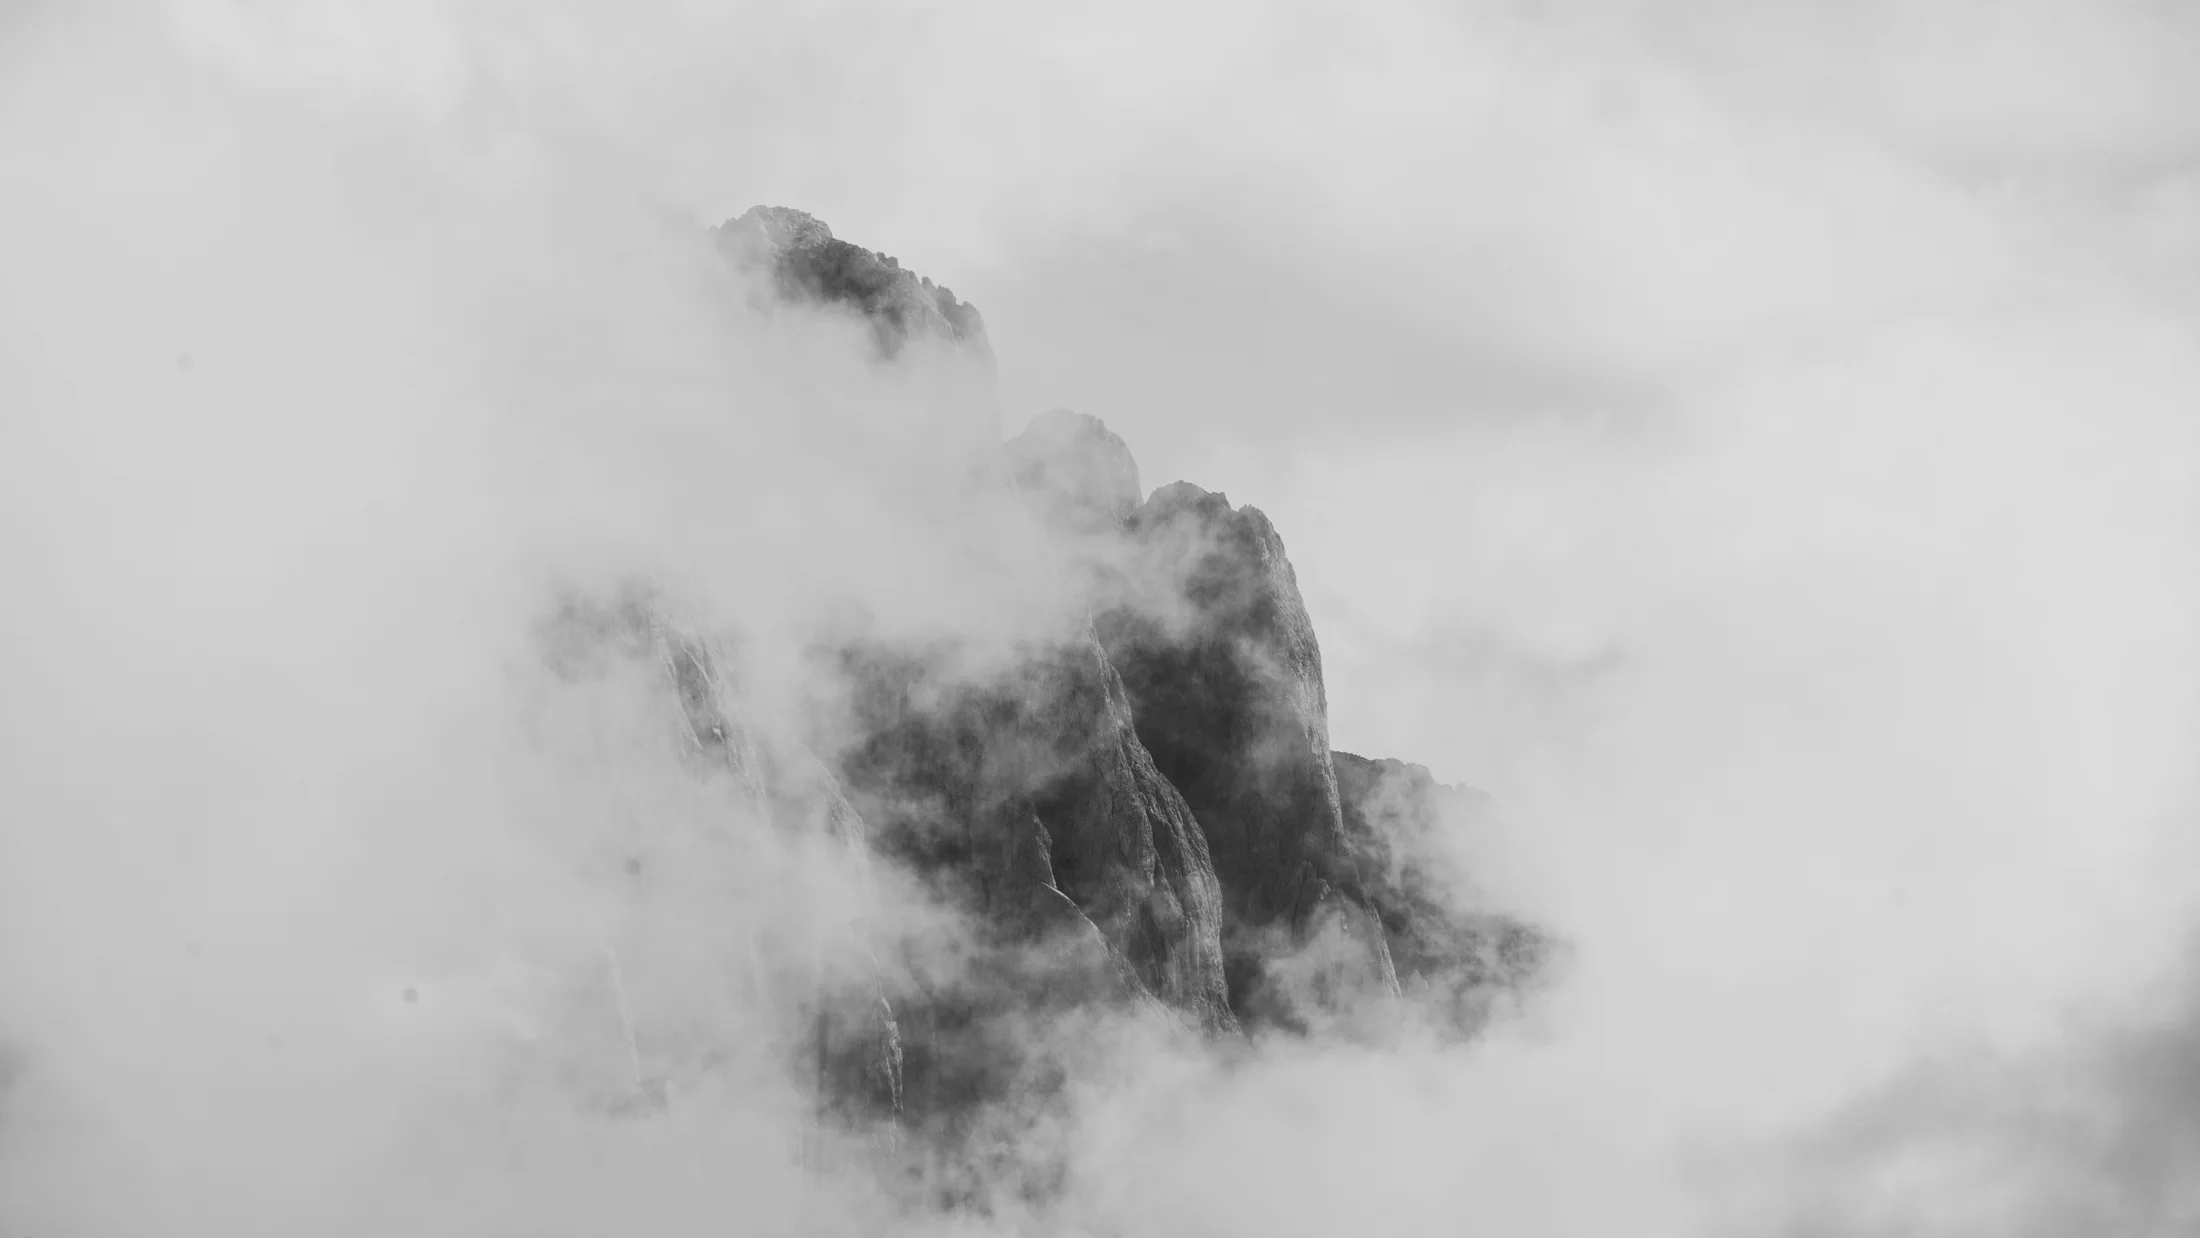
Stratus and low cloud: fog, low ceilings, and lost landmarks
Stratus and stratocumulus form low, uniform layers, often sitting on valley floors at dawn or clinging to ridges as hill fog. Visibility drops to tens of meters, and sound feels close and damp. A white wall swallows the trail, and the crunch of boots becomes your main compass.
Low cloud challenges navigation and judgment. On technical ground, cornices, cliffs, and loose talus become hazards you only see when too close. GPS can drift near steep walls; maps and compass remain essential. Temperature and wind combine with wet air to drain body heat quickly. Sometimes stratus lift by late morning; other times, orographic lift keeps peaks fog-bound all day. Regional bulletins often mention “nubosidad de retención” (clouds retained by onshore flow) on north-facing slopes, a common trap.
Action cues:
- If the route involves exposed scrambling, retreat or choose a lower alternative when fog persists or deepens.
- Use GPS waypoints, altimeter checks every 50–100 m, and a compass bearing on critical legs; practice beforehand.
- If stratus thins and breaks consistently over 30–60 minutes, reassess; otherwise, stick to handrail features like ridgelines and marked
GR-11orPR-15paths.
A Simple, Repeatable Way to Watch the Sky on the Move
Good decisions start before lacing boots. The night before, check two official sources (e.g., AEMET mountain bulletin and a regional service) plus a high-resolution app like Meteoblue or Windy for wind at ridge height, thunderstorm probability, and freezing level. In the morning, verify updates and set hard turn-back times at key points. Picture steam curling off your first coffee while you compare the sky to the forecast trend. Then choose Plan A and a safer Plan B.
On the trail, scan the sky every 10–15 minutes and after each terrain break: valley floor, treeline, and crest. Watch cumulus growth rate, base darkness, and any anvil hints. Track lenticular formation over ridges. Note visibility changes under stratus, and whether layers rise or sink. Use your altimeter to tie cloud base to elevation; if the base is at 1,600 m and you plan a 2,200 m pass, you already know when you’ll hit the cloud.
Carry simple tools:
- Altimeter or watch with barometer to spot pressure falls and confirm elevation.
- Compass and paper map for bearings in fog.
- Phone app with offline forecasts and radar; pre-download layers.
- Headlamp and spare layer for unplanned waits.
When to trust your eyes versus the app? Prioritize official thunderstorm warnings and strong-wind aloft forecasts, then use visual cues to micro-adjust timing and route. If your eyes say “rapid growth” and the app says “isolated storms,” trust the sky and shorten exposure. Build habits you can memorize:
- Check forecast and set turnaround times before leaving.
- On the hour: look 360°, note growth rate of cumulus and any anvils.
- At new altitude band: compare cloud base to your target pass.
- If three risk signs appear (darkening base, cooling wind, first thunder), switch to descent plan.
Clear Warning Signs and How to Act on Them
You need quick, unambiguous cues. Use this short list to decide whether to continue, wait, or descend. Feel the temperature on your cheeks, note wind on your ears, and keep count of minutes so judgment stays honest.
Key warning signs:
- Rapid cumulus growth from humilis to congestus within 30–60 minutes
- First visible anvil or overshooting top on a nearby tower
- Sudden wind shift or gust front; dust or spindrift racing ahead of a dark shelf
- Fast drop in temperature or pressure; prickly, cool outflow winds
- Visibility falling under low stratus or fog; cloud base sinking toward your route
- Distant thunder or radar-indicated storms moving toward your area
If X, do Y rules:
- If thunder is audible, descend below treeline and avoid high points immediately.
- If an anvil forms within 10–20 km, abandon exposed ridges and head to valley routes.
- If lenticulars align over your ridge, reroute below crest or postpone crossing until winds ease.
- If fog reduces visibility <50 m on technical terrain, backtrack to a safer line or waypoint.
- If nimbostratus sets persistent rain and temperature drops, shorten the objective to avoid hypothermia risk.
- If three warning signs stack within an hour, stop, reassess timing, and choose the fastest safe descent.
Examples:
- You spot congestus darkening and the wind cools on an arête—turn at the next safe notch.
- Cloud base lowers 200 m in 45 minutes toward your pass—shift to your valley alternative.
- Lenticular stack forms leeward at 11:00; you postpone the ridge traverse to afternoon or pick a sheltered loop.
Common Mistakes and a Practical Checklist You Can Use
Even experienced hikers misread the sky by focusing on the wrong clue or missing the clock. Avoid these pitfalls and anchor your routine with a checklist you can repeat on every outing. In still air, a thin veil can hide rapid change; in gusts, a dramatic cloud can mean less than the numbers suggest. A damp breeze brushing your sleeves can be the truest signal of all.
Frequent errors:
- Confusing high cirrus with thinning low stratus; altitude matters more than color.
- Underestimating the speed of cumulus growth; small at 11:00 can be a tower by 13:00.
- Basing decisions on a single cloud type; context (wind, terrain, time of day) is key.
- Ignoring orography; ridges accelerate wind and cloud, valleys slow them.
- Clinging to the plan despite three clear warning signs; sunk-cost bias is dangerous.
Before you leave:
- Check two official bulletins (e.g., AEMET plus regional) and one high-res app.
- Note thunderstorm probability, ridge wind at 700–850 hPa, and freezing level.
- Define Plan A, Plan B, and hard turnaround times tied to waypoints.
- Pack map, compass, altimeter/barometer, headlamp, and warm layer.
On the trail:
- Scan the sky every 10–15 minutes; log growth rate of cumulus and any anvils.
- Compare cloud base to your next pass using altimeter.
- Reassess at treeline and ridge; if three warnings show, switch to descent.
- In fog, reduce spacing in your group, fix a compass bearing, and mark key waypoints.
- After first thunder, descend below high ground and wait 30 minutes after the last rumble.
Mini-rules to remember:
- Small cumulus before noon can grow; big cumulus after noon often storm.
- Smooth lenses mean rough wind on crests; choose sheltered lines.
- Uniform gray and steady rain mean persistence; pick low, safe routes.
Real Scenarios, Smart Calls, and Where to Learn More
Practice with these short cases so decisions come quickly when you need them. Read, choose, and compare your choice with the reasoning. The scent of wet pine and a cool slip of air across your face can be sharper than an icon on a screen.
Case 1: July in the Pyrenees, clear morning, small cumulus by 10:30, by 12:00 congestus with dark bases over the main ridge; you’re on an exposed GR-11 col. Decision: descend. Rationale: rapid growth, darkening bases, time of day—classic storm build. Waiting on a col invites lightning and hail.
Case 2: Autumn in Picos de Europa, uniform gray sky at dawn, steady light rain, peaks lost in cloud, light valley wind. Decision: avoid ascents and pick a low karst valley loop. Rationale: nimbostratus pattern; long, persistent rain and poor visibility increase hypothermia and navigation risk.
Case 3: Winter in Sierra Nevada, lenticular stacks leeward of the main ridge, cap clouds on the tops, calm in the parking area. Decision: reroute below crest or postpone the ridge traverse. Rationale: strong winds aloft flagged by lenticulars; exposed arêtes will be hazardous even if valleys are quiet.
Case 4: Spring in the Sistema Central, thin cirrus at breakfast, by late morning a milky veil (cirrostratus) weakens shadows, no vertical growth. Decision: continue but shorten the day and watch for mid-level lowering. Rationale: approaching warm front; hours before rain, but ceilings may drop sooner on passes.
Next steps to deepen your skills:
- Take a mountain weather course through local mountaineering clubs or national federations; hands-on case practice builds judgment fast.
- Study cloud classification with WMO and national services; AEMET summaries are concise and reliable.
- Use apps that show wind at altitude and radar evolution; compare forecast soundings with what you see.
- Follow nearby automatic weather stations to learn local patterns; many regional agencies publish live data.
Practice safely by choosing routes with easy exits, observing cloud evolution on short hikes, and debriefing decisions afterward. Share notes with your group, and refine your turnaround rules until they feel automatic.
Book your experience — discover active tourism activities in Spain with Picuco‑verified providers.
Conclusion
Reading mountain clouds is a skill you can build, not a talent you either have or lack. With a few concepts, watchful routines, and clear action rules, you can decide to ascend, wait, or descend with steady confidence. Keep one eye on the sky and one on official forecasts, learn your local patterns, and practice on low-commitment routes before testing calls on big ridges. The mountains reward those who read their signs, and the sky writes in clouds every day.