Start Strong: Preparation Makes Your First Rafting Day Better
Rafting rewards good planning, so knowing what to bring rafting is your first safety step and your best comfort hack. You are about to navigate moving water as a team, and the right choices in logistics, clothing, and whitewater rafting gear turn nerves into calm focus. Picture the raft sliding off the shore as cool spray freckles your cheeks and everyone grins in the morning light.
You’ll find this guide designed for beginners, from easy Class I–II floats to fun Class III runs on wide, forgiving rivers. Rivers are graded by the International Scale of River Difficulty (Class I is calm current; Class V is expert-only), and appropriate equipment—helmet, buoyancy aid, wetsuit in cold water—dramatically reduces risk and fatigue. A thoughtful rafting packing list helps you avoid rookie errors like cotton layers that chill you, loose footwear that slips, or unsecured phones. Think of preparation as part of the experience: quick, practical steps that protect your energy and let you enjoy the river.
Expect concrete advice on choosing a stretch and operator, best seasons and river conditions, getting there, what’s typically included, and what to bring yourself. We’ll also cover what to wear rafting by season, common mistakes to avoid, and essential rafting safety habits from hydration to on-river signals. The payoff is simple: a clear checklist you can copy, less stress on the day, and more time smiling at the waves.
What rafting is and why packing matters
Rafting is a guided descent of a river in an inflatable raft, paddled by a crew with a professional guide who directs maneuvers and safety. Difficulty ranges from Class I (moving flatwater) to Class VI (unrunnable), with most first-timers comfortable on Class II–III that mix splashes with straightforward lines. Imagine the rhythmic thump of paddles hitting water as the current tugs you into a dancing tongue of white.
The right equipment and preparation reduce swim chances, help you stay warm, and keep essentials dry and secure. A reputable operator supplies core gear—helmet, buoyancy aid, paddle, sometimes a wetsuit—but your own layers, footwear, and packing discipline fill the gaps. Treat your equipment rafting checklist like seatbelts in a car: basic, non-negotiable, and designed for the unexpected.
What you will learn here
You will get a practical rafting packing list you can screenshot, plus seasonal clothing and footwear tips for summer, shoulder seasons, and cold water. We’ll flag common rafting mistakes—and how to avoid them—and share safety basics such as hand signals, river position if you fall in, and how to secure valuables. By the end, you’ll know exactly what to wear rafting, what to bring rafting, when to go, and what to confirm with your operator.
Picuco te puede ayudar
Does something here catch your eye?
Tell us.
Write to us on WhatsApp or email: we answer questions, find the best options and help you sort out the booking.
Plan the Basics: Where, When, and How to Go
Good logistics remove friction from your day so the river gets your full attention. Picture stepping from the van to the put-in with a light pack and zero last-minute scrambles.
Choosing location and operator
Pick a river stretch that matches your group’s experience: Class I–II for family floats and first-timers, Class III for a lively but controllable step-up. Balance distance from home, total time required, and the river’s release/flow patterns if applicable. The best operators have experienced guides, visible safety procedures, and consistently positive reviews that mention clear briefings and well-maintained whitewater rafting gear.
Before booking, ask: Does the operator include the core equipment rafting kit (helmet, buoyancy aid, paddle, wetsuit/booties if cold)? Are there age/weight limits? What’s the guide-to-guest ratio? Confirm what’s in the price, read recent reviews, and check certifications or affiliations (for example, regional rafting associations or first-aid/Swiftwater Rescue training). Keep your own list of rafting questions so you don’t forget key details during the call.
Best season and river conditions
Season changes everything: spring snowmelt often brings higher, colder flows; late summer can be warmer with lower, friendlier levels. Water temperature shapes what to wear rafting—neoprene layers and gloves for <12 °C waters, quick-dry synthetics for warm conditions. Hear the muted roar of higher flows in spring versus the gentler hiss of summer riffles.
Beginners usually do best in late spring to early autumn when levels are moderate and water is not frigid. Avoid high-flood windows and immediately after heavy rain unless your operator says conditions remain beginner-friendly. Ask about typical daily temperatures, water temps, and recommended layering; this informs footwear choices too, from neoprene booties to grippy water shoes.
Getting there and day-of logistics
Common options include self-drive to the operator’s base, train or bus to the nearest town followed by a taxi or operator shuttle, or full transfers organized by the operator. Plan to arrive 30–45 minutes before your slot for check-in, changing, and the safety briefing. The air smells faintly of rubber and river as paddles clack together during the gear handout.
Expect a total window of 2.5–4 hours: check-in and gear (30–45 min), shuttle to put-in (10–40 min), on-river time (60–150 min depending on stretch), and shuttle back (10–40 min). Wear your base layers under street clothes to speed up changing. For groups, designate one person to track timing and a second to keep the rafting packing list and car key logistics simple.
Stays and services nearby
You can base yourself near the river to reduce early-morning travel: budget campsites, mid-range hostels or rural hotels, and family-run guesthouses are common around rafting hubs. Look for facilities like hot showers, secure lockers, and drying areas. Steam rises from a mug on a terrace as evening light fades over the river corridor.
Ask your operator about on-site storage for a dry change bag; pack a small towel, flip-flops for after, and a warm layer for the ride back. A simple tip: leave a labeled dry bag with spare clothes in the operator’s van that will meet you at the take-out. Accommodation that offers early breakfasts and late check-outs can turn a splashy morning into a relaxed day.
What to Bring Rafting: Essential and Mandatory Gear
First-timers thrive when the must-haves are clear and non-negotiable. The gentle push of current against the raft reminds you why the right kit matters the moment you launch.
- Helmet (whitewater-rated): Protects your head from rocks and paddles; it should fit snugly without pressure points and have a functional chin strap. Operators usually provide certified helmets; if bringing your own, ensure it is CE/EN or ASTM approved and not a bike or climbing-only helmet.
- Buoyancy aid / personal flotation device (PFD): A whitewater PFD keeps you afloat and positions your head above water. It must fit your chest size and allow arm movement. Check buckles, straps, and buoyancy panels for wear; good operators inspect and replace PFDs regularly.
- Paddle: Single-blade river paddles are standard on rafts. Check for solid blade edges and no cracks at the shaft-blade junction. Guides often assign paddle length based on your height.
- Wetsuit or dry layers (as needed): In cold water, a 3/2–4/3 mm neoprene wetsuit is common for beginners, sometimes with a neoprene jacket. In warm conditions, the operator may skip wetsuits, so confirm in advance and plan synthetics or merino layers accordingly.
- Footwear (provided or personal): Many operators provide neoprene booties; otherwise, bring closed-toe water shoes with a grippy sole. Avoid flip-flops or casual sneakers that soak and slip.
- Guide safety system: The guide carries safety essentials—a throw bag (rescue rope), a knife, carabiners, a flip line, and often a small first-aid kit. Some trips add a safety kayak or an additional safety raft.
- Whistle: A simple, pealess whistle works in wet conditions and aids communication if separated from the group.
- Personal essentials: A compact personal first-aid kit (plasters, blister kit, any personal meds), sunscreen (water-resistant, SPF 30–50), lip balm with SPF, and a 500 ml water bottle in a secured pocket or clipped inside the raft when allowed.
What operators usually include: helmet, PFD, paddle, wetsuit/booties in cold seasons, and shuttles between base and river. They lead a comprehensive safety briefing and provide dry storage for car keys. What you bring yourself: swimwear or base layers, secure footwear if not provided, towel and warm post-trip clothes, sunscreen, and any personal medical items like inhalers or EpiPens.
Own vs. rented gear: Bring your own only if it’s whitewater-appropriate, fits you well, and you know how to use it. A climbing helmet, surf-only wetsuit, or recreational PFD may not be suitable. Ensure any personal gear is in good condition—no cracked foam, frayed straps, or delaminating neoprene. If you rent, ask how often items are inspected and cleaned, and try the fit before the shuttle departs.
Maintenance and hygiene: Rinse neoprene and PFDs with freshwater after use and dry them out of direct sun to preserve elasticity and buoyancy. Check helmets for impact damage and replace after significant knocks. For multi-day trips, pack a mesh bag to air-dry gear overnight and a small bottle of eco-friendly soap for quick rinses.
A beginner’s quick kit (operator trip):
- Provided: helmet, PFD, paddle, wetsuit/booties (seasonal)
- Bring: swimwear or base layer, synthetic top, secure shoes, sunscreen, water bottle, towel, change of clothes, small personal meds
- Optional: sunglasses with retainer, compact dry bag/phone case, thin neoprene gloves in cold water
What to Wear Rafting: Clothing and Footwear by Season
Dress for the water temperature first, air temperature second, and you’ll stay comfortable even after splashes. Feel the contrast of cool spray on your forearms and warm sun on your shoulders as you float between rapids.
1.Summer: light layers and sun protection
In hot weather and warm rivers, prioritize quick-dry, UV-smart layers. Wear a synthetic or merino T-shirt or rash guard (lycra) over swimwear, plus lightweight boardshorts or leggings that won’t sag when wet. A cap with a retainer strap and water-resistant sunscreen (SPF 30–50, reapplied after the swim test) protect face and neck. The warm scent of suncream mixes with river breeze as you load the raft.
Choose fabrics labeled as fast-drying and avoid heavy cotton, which soaks, chills, and rubs. If the operator does not provide footwear, use closed-toe water shoes with grippy soles; add thin neoprene socks if the river is cool. Pack sunglasses with a floating or secured retainer, and consider a lightweight buff for sun on the nape. When thinking what to bring rafting in summer, your ropa para rafting should feel barely-there, protective, and secure.
2.Spring and autumn: layering and insulation
Shoulder seasons demand flexible layers because air and water can diverge widely. Use a wicking base layer (synthetic or merino) against the skin, an insulating mid-layer (thin fleece or neoprene top), and a windproof/waterproof shell if offered. If the operator recommends a wetsuit, wear your base and add the provided neoprene over it. A cool breeze brushes your cheeks as low sun winks off cold riffles.
Hands and ears can suffer in chilly spray; pack thin neoprene gloves and a neoprene beanie if water temps are below about 12–14 °C. Avoid bulky coats or cotton hoodies under gear; they hold water and reduce mobility. Bring a warm dry layer and hat for after the trip, and stash them in a labeled dry bag that returns to the take-out.
3.Winter and cold water: neoprene and thermal protection
When water is properly cold, prioritize thermal safety to prevent hypothermia and loss of dexterity. Wear a 4/3–5/4 mm wetsuit or a farmer-john style with a neoprene jacket; add neoprene socks and boots with rigid, grippy soles. If available, a drytop over neoprene gives wind and splash protection. Your breath curls in pale plumes as you step onto frost-stiff grass near the put-in.
Protect extremities: neoprene gloves or pogies (hand covers fixed to paddles) keep fingers functional, and a neoprene cap retains heat. Ask operators about drysuit options on very cold rivers; if using a drysuit, pair a wicking base and warm fleece mid-layer, and ensure latex gaskets fit without choking. Keep a thermos with a warm, non-alcoholic drink for post-run recovery.
4.Rafting footwear and must-have accessories
Calzado para rafting must keep feet warm, protected, and planted on wet plastic and rock. Choose closed-toe water shoes or neoprene booties with rubber soles that grip; lace-up water sneakers and canyoning-style shoes are excellent. Avoid flip-flops or open sandals, which slip off and expose toes. The hiss of wet rubber on raft tubes tells you your soles are sticking well.
Fit matters: shoes should be snug without crushing toes, with laces or straps secured and ends tucked. Pair with neoprene socks in cooler water to prevent numbness. Accessory essentials include: a small dry bag or phone case with lanyard, sunglasses with a retainer, a soft microfiber towel, and a compact lock or use of the operator’s locker for wallets and keys. Keep your post-trip change bag separate so wet gear never touches your dry layers.
Common Mistakes First-timers Can Easily Avoid
Most mishaps come from avoidable choices—rushing logistics, mismatched clothing, or unsecured items—so fix them on paper before you reach the water. A faint clink of carabiners and the crunch of gravel underfoot remind you to slow down and check your setup.
- Picking the wrong stretch or operator: Booking Class IV when your group has never paddled is a stress recipe. Solution: choose Class II–III for first outings, ask operators to match you to conditions, and confirm guide credentials and safety ratios.
- Not checking what’s included: Surprises at the base (“No booties today”) can derail comfort. Solution: ask whether helmet, PFD, wetsuit, and footwear are included, and confirm sizes, age/weight limits, and shuttle details.
- Wearing cotton: Jeans and hoodies soak, chill, and chafe. Solution: wear synthetics or merino; add neoprene if water is cold. Pack a full dry change for after.
- Footwear fails: Loose sneakers or flip-flops slip and injure toes. Solution: bring closed-toe water shoes or neoprene booties with grippy soles; tie laces tight and tuck ends.
- Ignoring the briefing: The guide’s paddle commands and swim protocols save time and reduce risk. Solution: listen actively, ask if unsure, and practice strokes at the put-in.
- Bringing unsecured objects: Phones in pockets and free-floating bottles vanish instantly. Solution: leave valuables at base, or use dry cases with lanyards; clip bottles and dry bags to designated points with guide approval.
- Alcohol before paddling: Even one drink blunts reflexes and judgment. Solution: stay alcohol-free before and during; celebrate after.
- Not disclosing medical conditions: Hidden asthma or allergies complicate emergencies. Solution: tell your guide privately about conditions and carry personal meds in a waterproof pouch.
- Underestimating cold: Numb fingers can’t paddle. Solution: dress for the water temperature, not just the sun; bring gloves and neoprene layers as advised.
- Overpacking the raft: Bulky backpacks shift and snag. Solution: carry only essentials approved by the guide in small, secure dry bags.
Use this short pre-departure check:
- Confirm stretch, class, and meeting time.
- Verify included gear and sizes.
- Pack layers for water temperature and secure footwear.
- Prepare a labeled dry bag with towel and warm clothes.
- Leave nonessentials at base; secure essentials with lanyards.
Practical Tips and Safety Essentials
Simple routines—drink, eat light, secure, signal—turn a fun plan into a reliably safe day. The soft drip of water from your paddle blade is steadier when your body and kit are ready.
Hydration, food, and basic fitness
Arrive hydrated: drink 300–500 ml of water in the two hours before your trip and sip again during kitting up. Eat a light, balanced meal 2–3 hours prior—think oats, yogurt, fruit, or a small sandwich—and avoid heavy, greasy foods. The clean taste of cool water steadies nerves as you buckle your PFD.
For hot days or longer runs, pack an extra 500 ml bottle in a small dry bag if the operator allows it. If you’re building a what to bring rafting snack kit, choose compact, wrapper-contained items like an energy bar or a small bag of nuts to eat at the take-out. Sleep 7–8 hours the night before and do a 5-minute dynamic warm-up (arm circles, light squats) before boarding to wake up joints.
Securing valuables and using dry bags
Decide early what stays on land: wallets, large cameras, and spare clothing should remain in lockers or sealed vehicles. What must come along—keys, phone, ID—goes in waterproof pouches or small roll-top dry bags with lanyards, and each item must be clipped to a designated raft point with guide approval. The satisfying click of a carabiner closing is your cue that the river can’t take it.
Build a mini rafting packing list of “secure-me” items:
- Keys in a floating pouch
- Phone in a waterproof case with retainer
- 500 ml water bottle with loop, clipped
- Sunscreen stick in a zipped pocket or small dry bag
- Personal meds in a sealed, labeled pouch
Avoid bulky backpacks that unbalance the raft. If you bring a camera, use a dedicated waterproof action camera with a float attachment and leash; ask the guide where and when filming is safe and allowed.
Communication, signals, and river behavior
Guides use voice, hand signals, and whistles to control the boat and coordinate rescues. Learn basic calls: “Forward” (paddle forward), “Back” (paddle backward), “Stop,” “Get down” (drop to the raft’s floor for stability), and “High side” (move weight to the upstream tube). The guide’s whistle cuts cleanly through the river noise like a small birdcall in a gorge.
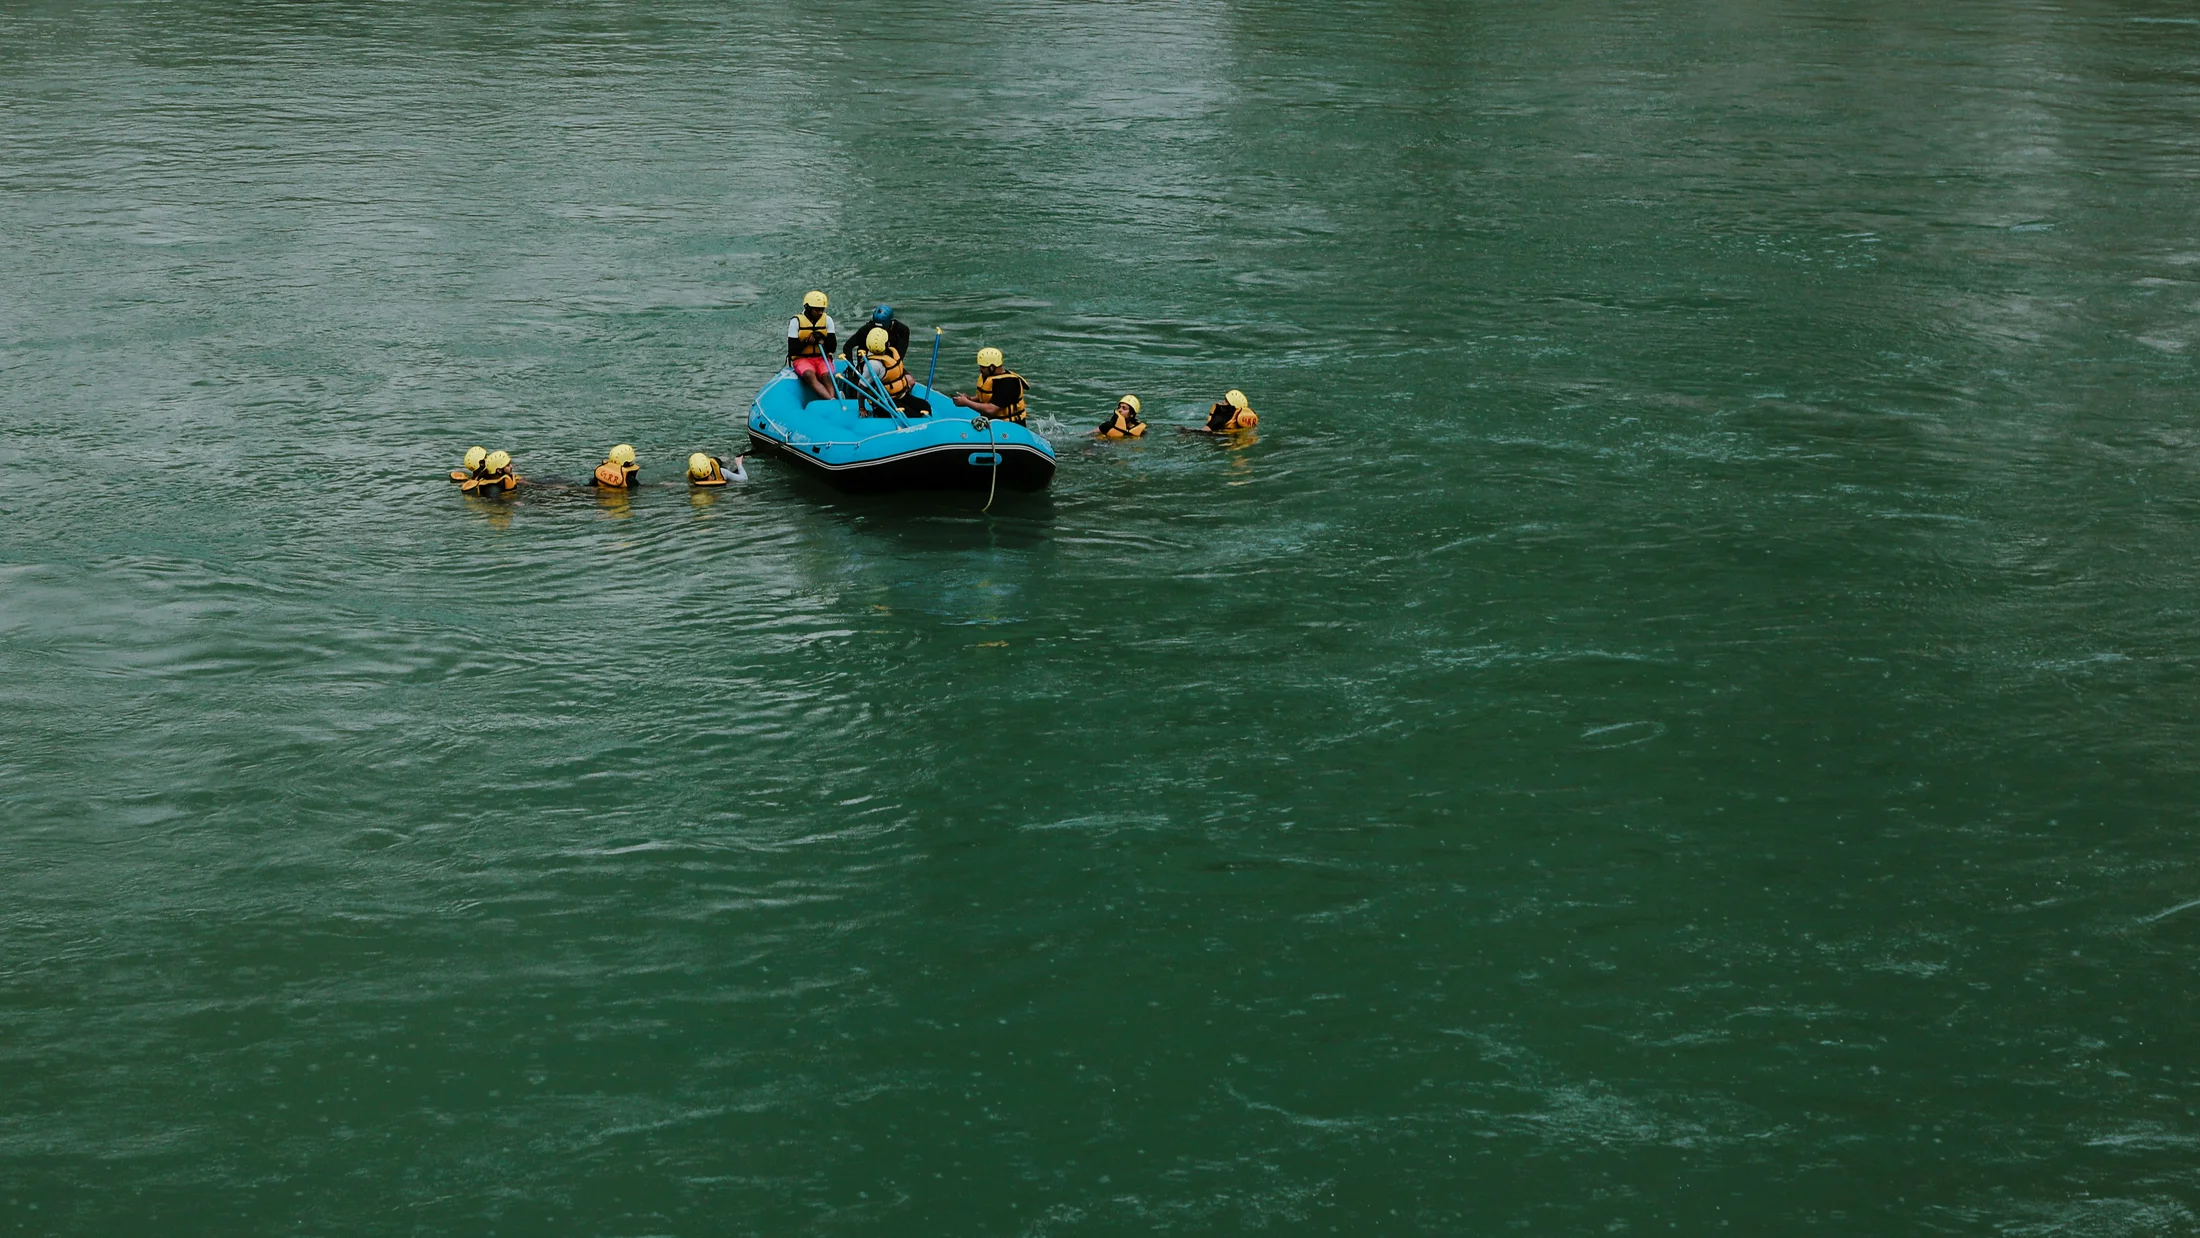
If you fall in, keep calm; if near the raft and safe, hold the safety line. If separated, assume the “defensive swim” position—on your back, feet up and pointed downstream to fend off rocks—and look for guide signals or a throw bag. Never stand up in moving water above knee depth to avoid foot entrapment; wait until you’re in calm, shallow water and told to stand.
Insurance, first aid, and basic training
Adventure insurance that covers whitewater rafting adds peace of mind; check policy exclusions, river grades covered, and rescue/medical transport. Ask the operator what their insurance covers and whether guides hold current first-aid and Swiftwater Rescue certifications. The crisp crackle of laminated safety cards on the guide’s thwart signals a culture of preparation.
Carry a minimal personal kit: blister plasters, pain relief you tolerate, personal meds, and a small bandage roll, kept in a micro dry pouch. For training, a short pre-trip briefing suffices for first-timers; if you plan frequent rafting, consider an introductory whitewater course that teaches paddling strokes, swimming positions, and basic rescue awareness. Always ask: “What happens if levels change?” and “What is our emergency plan?”
Frequently Asked Questions
What should I bring rafting if the operator already provides gear?
Most operators supply whitewater helmets, buoyancy aids, paddles, and—if the water is cold—wetsuits and neoprene booties. You should still bring your own secure footwear if not provided, base layers or swimwear for under the wetsuit, and water-resistant sunscreen. Picture your small pile on the bench: neat, labeled, and quick to gear up.
Also pack a microfiber towel, a full dry change (underwear, socks, warm top), and any personal medications in a waterproof pouch. If you wonder what to bring rafting for comfort, add sunglasses with a retainer and a 500 ml water bottle you can clip. At booking, ask: What sizes are available? Are booties included? How long is on-river time? Is there a locker for keys and wallets? Clear answers prevent surprises on the day.
Can I bring my phone and how do I protect it?
You can, but it’s risky unless it’s fully secured and waterproofed. Use a IPX8-rated phone pouch with a lanyard and a secondary clip point inside the raft; floatable cases help if it’s dropped. The faint suction sound as you seal the case should become a habit before every launch.
If you plan to film, consider a small action camera with a float attachment and leash. Otherwise, leave your phone in a secure locker at base and ask if a trip photographer is available. Good practice: test the pouch seal with tissue before the trip, wipe condensation from the lens before filming, and avoid handling the phone in rapids. Budget-friendly kits often include a pouch plus a strap—buy one per device so nothing competes for the same lanyard.
What rafting footwear is best for kids or beginners?
Choose closed-toe water shoes or neoprene booties with sturdy, grippy soles that protect toes and prevent slipping. For colder water, pair neoprene socks under booties; for warmer days, breathable water sneakers work well. Feel for a snug fit so heels don’t lift when wet.
Avoid flip-flops, crocs without straps, or loose sneakers that soak and slide. If you lack perfect calzado para rafting, use well-fitting trainers with good tread and secure laces as a fallback; expect them to get soaked and heavy. Always confirm with the operator whether they provide booties in your sizes for kids, and do a walk test: if a shoe stays on during a hard heel yank, it’s likely secure enough.
What happens if I fall in the water?What should I remember?
Stay calm and listen for the guide’s voice or whistle. If close to the raft and safe from obstacles, grab the perimeter line; otherwise, adopt the defensive swim: on your back, feet up and pointed downstream, arms out for balance, eyes scanning for throw bags or eddies. The river’s cool push against your PFD is a reminder that it’s designed to keep your head up.
Follow rescue instructions; when a rope comes, face the rescuer, hold the rope over your shoulder (not around your hand), and keep feet up as you’re pulled in. When re-entering the raft, let teammates and the guide assist—kick your legs and roll in on their count. After, do a quick self-check: breathing steady, no pain, helmet secure, paddle retrieved if safe.
Do I need prior experience or can I go if I can’t swim?
For beginner stretches (Class I–II and many Class III), you don’t need prior rafting experience; professional guides teach strokes and safety on land. Many operators accept non-swimmers on easy sections, provided they disclose this and wear properly fitted PFDs. Your guide will adapt seating and extra precautions.
Still, comfort in water helps. If you cannot swim, choose the gentlest sections, avoid high flows and cold conditions, and practice a calm float in a pool with a PFD before your trip. Ask the operator to confirm river class, water temperature, and their policy for non-swimmers; honesty here improves your safety plan and peace of mind.
Book your experience — discover active-travel adventures in Spain with Picuco-verified providers.
Conclusion
Set yourself up for a joyful first descent by treating preparation as part of the adventure. Choose a beginner-friendly stretch with a reputable operator, arrive early, and confirm what whitewater rafting gear is included so your clothing and footwear choices dovetail with the plan. The river’s steady pull feels friendlier when your kit is dialed and your questions are answered.
Your core what to bring rafting checklist is simple: helmet and PFD (operator-supplied), appropriate thermal layers or wetsuit, secure closed-toe footwear, sunscreen, a small water bottle, and a full dry change for after. Dress for the water, secure valuables in dry cases with lanyards, listen closely during the briefing, and practice defensive swimming in your mind before push-off. Avoid common pitfalls—cotton layers, loose shoes, alcohol, and unsecured phones—and you’ll keep the day focused on teamwork, learning, and fun.
Copy the packing list into your phone notes, share it with your group, and assign someone to do a final gear check at the put-in. With the logistics smooth, you can watch eddies and ripples, tune in to your guide’s commands, and enjoy the simple rhythm of paddle, glide, laugh. When you’re ready, explore options near you through Picuco to match dates, river class, and season—and let the river do the rest.